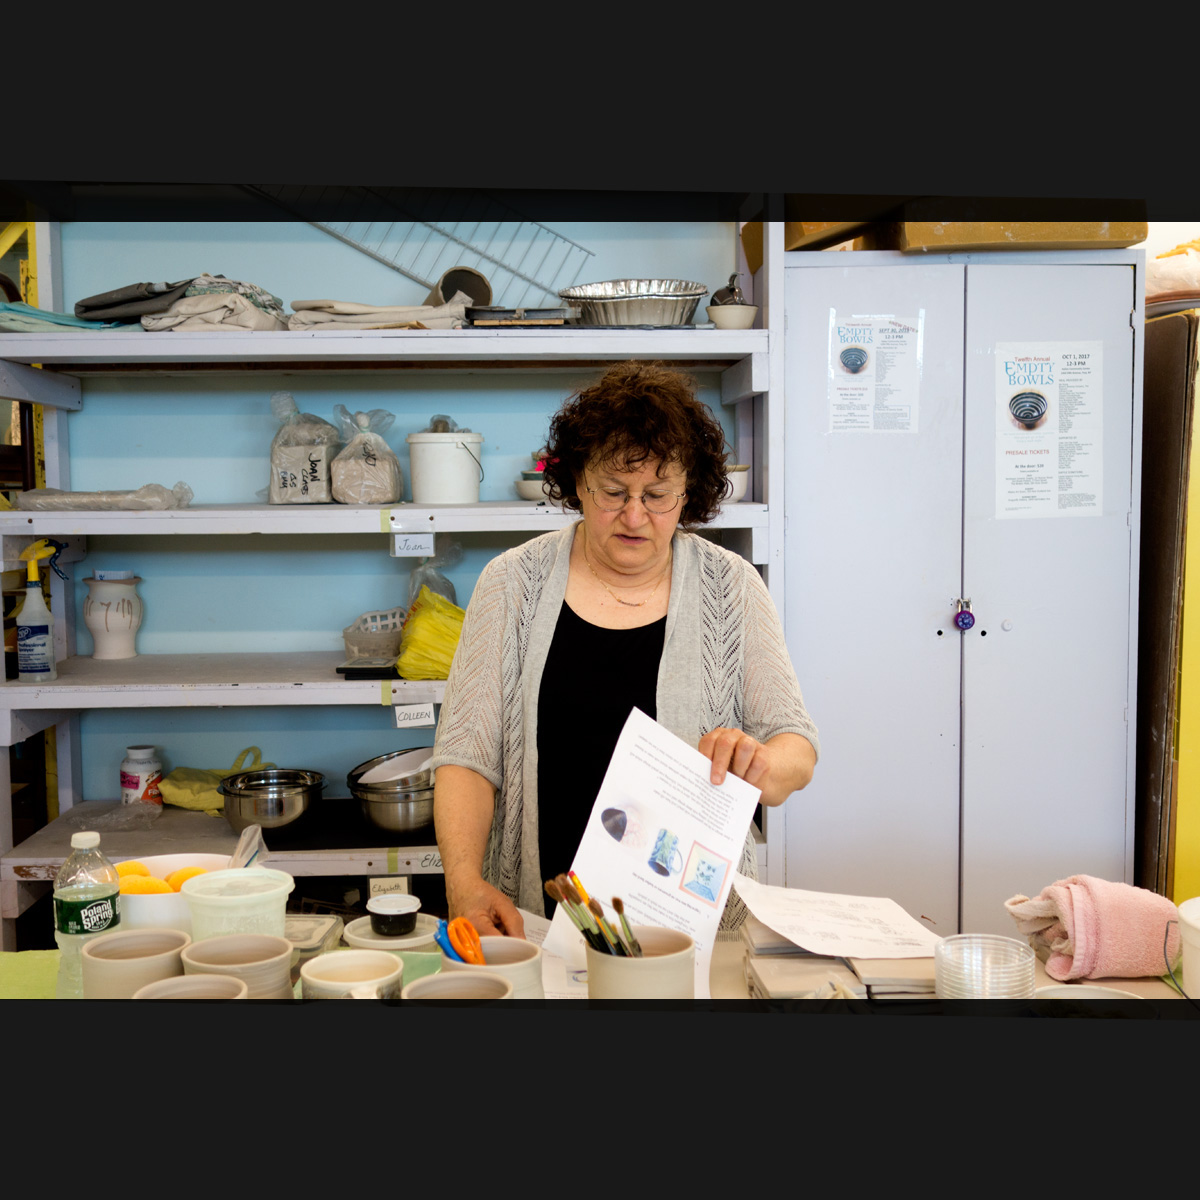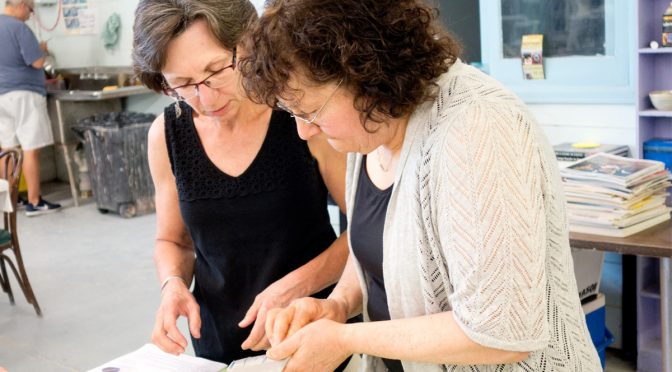
Liz is a wonderful teacher and potter. She demonstrated many creative surface techniques for use on greenware, as well as, on bisqueware. Liz covered wax resist glazing, etching through wax resist and Sgraffito on bone dry and leather hard clay wax, and resist etching for raised designs. Liz also covered how to use laser decals and how to use all of the above in interesting combinations.
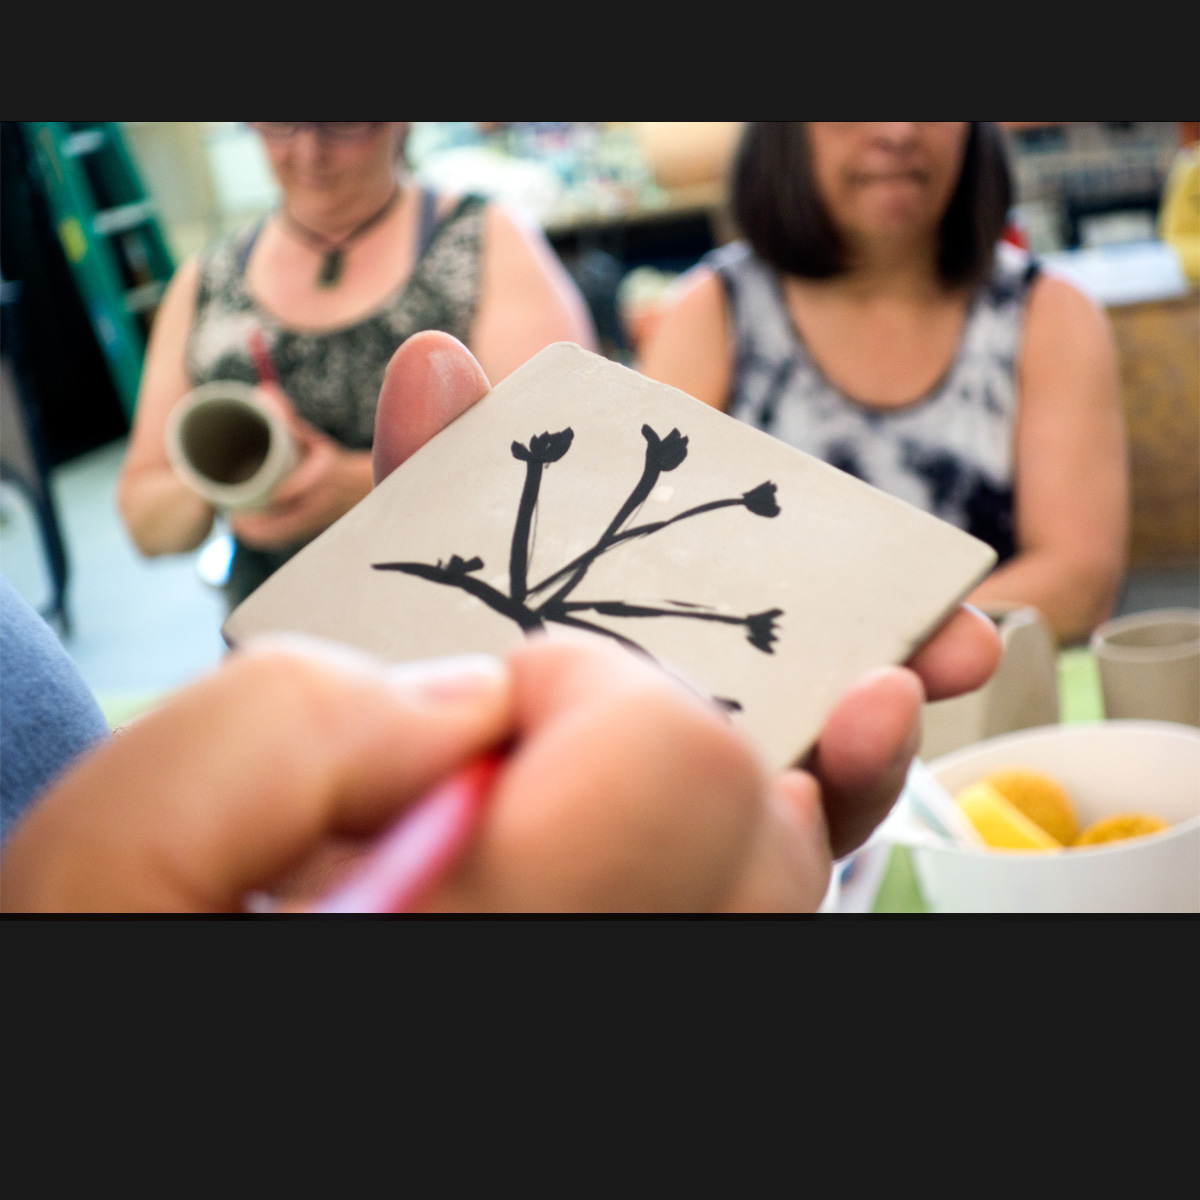
Participants were able to practice on provided tiles or their own work.
Visit Liz’s website: LizVigoda.com
Check out the photo gallery at the end of the post.
BELOW ARE SURFACE DECORATION TECHNIQUES THAT LIZ DEMONSTRATED.
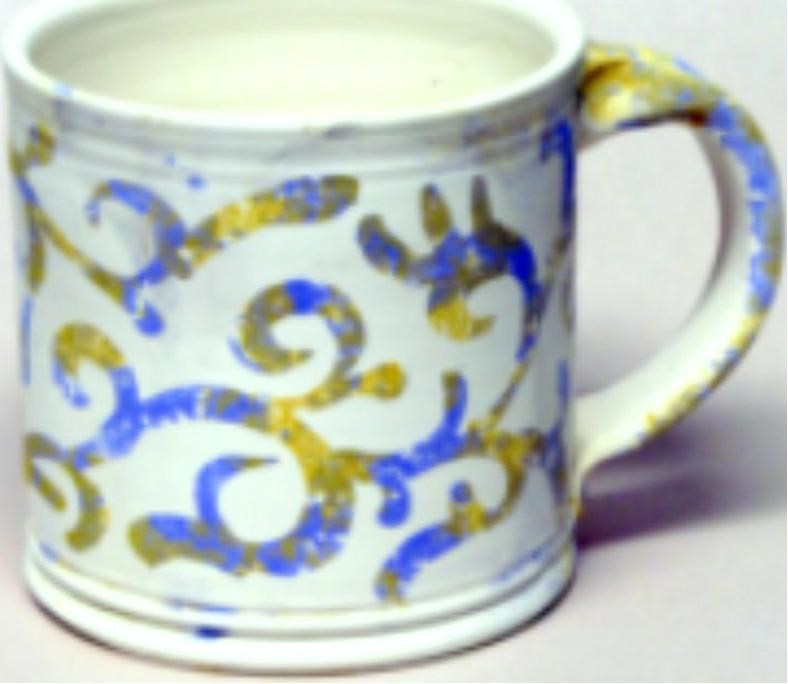
- SIMPLE WAX RESIST
- Dip in one glaze
- Apply cold wax resist design ( avoid very fine lines as they sometimes fill in with second dip)
- Wait an hour (you may let this sit indefinitely until you are ready to do second dip)*
- Test glazes first to make sure they are compatible and that they don’t run too much or pinhole
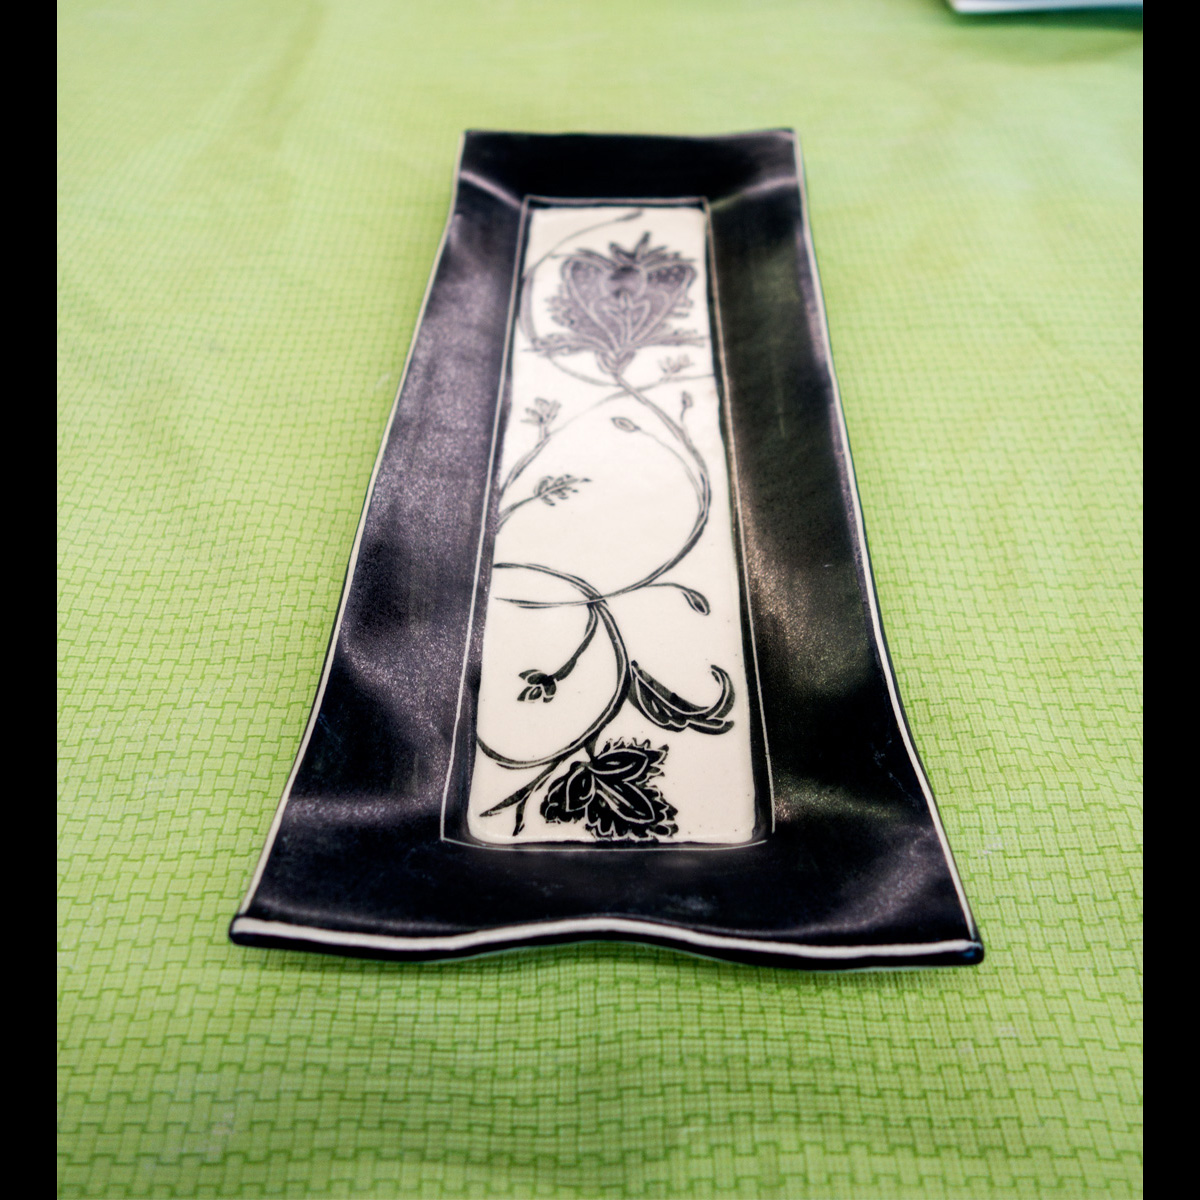
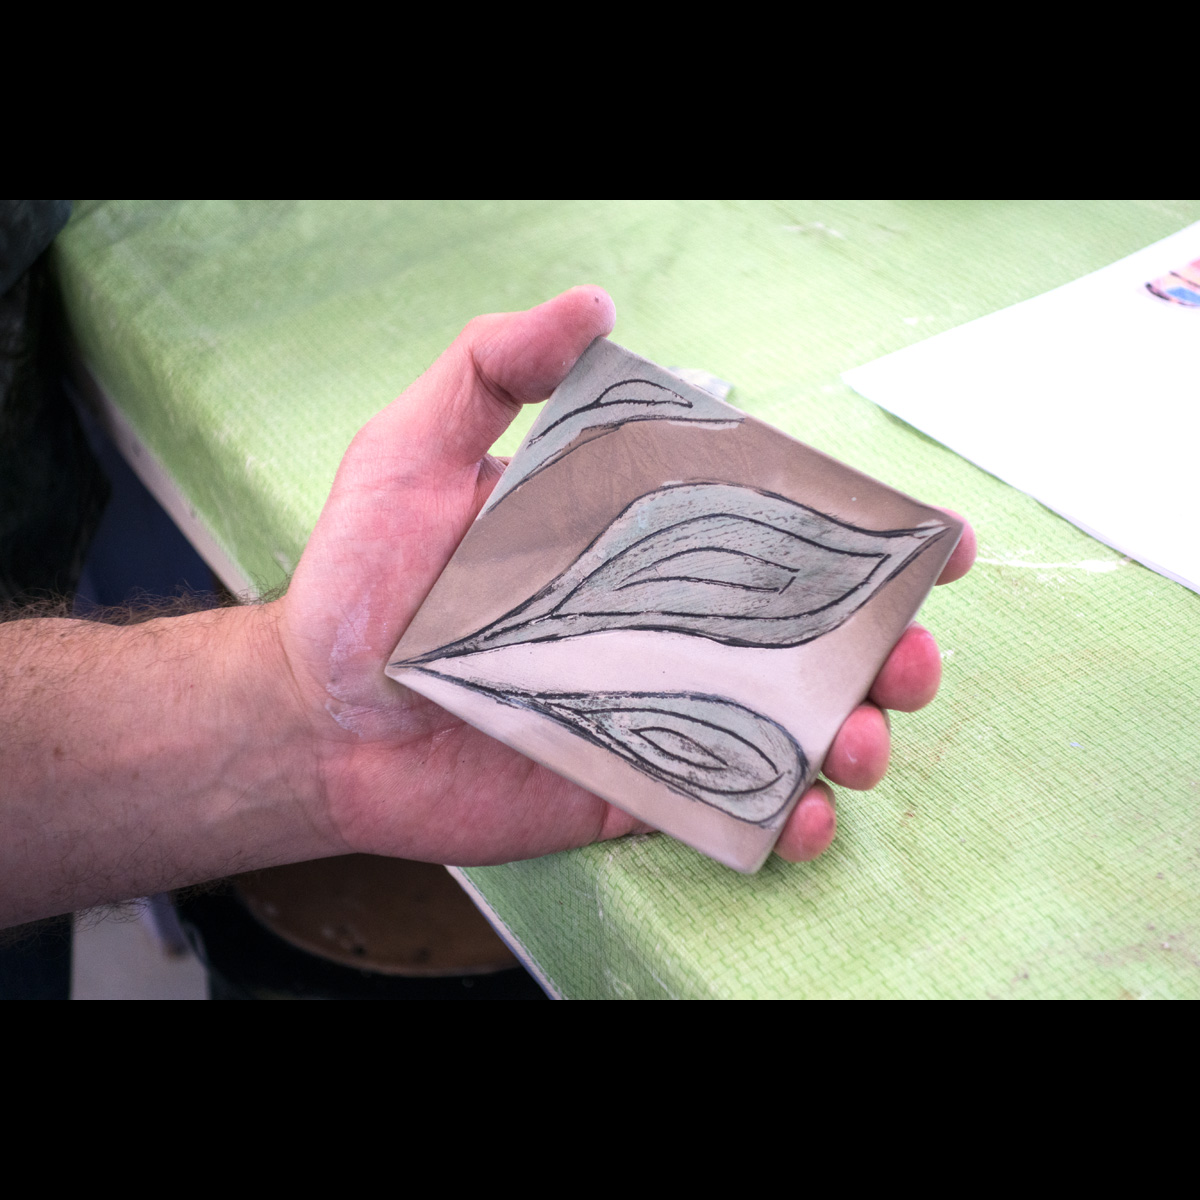
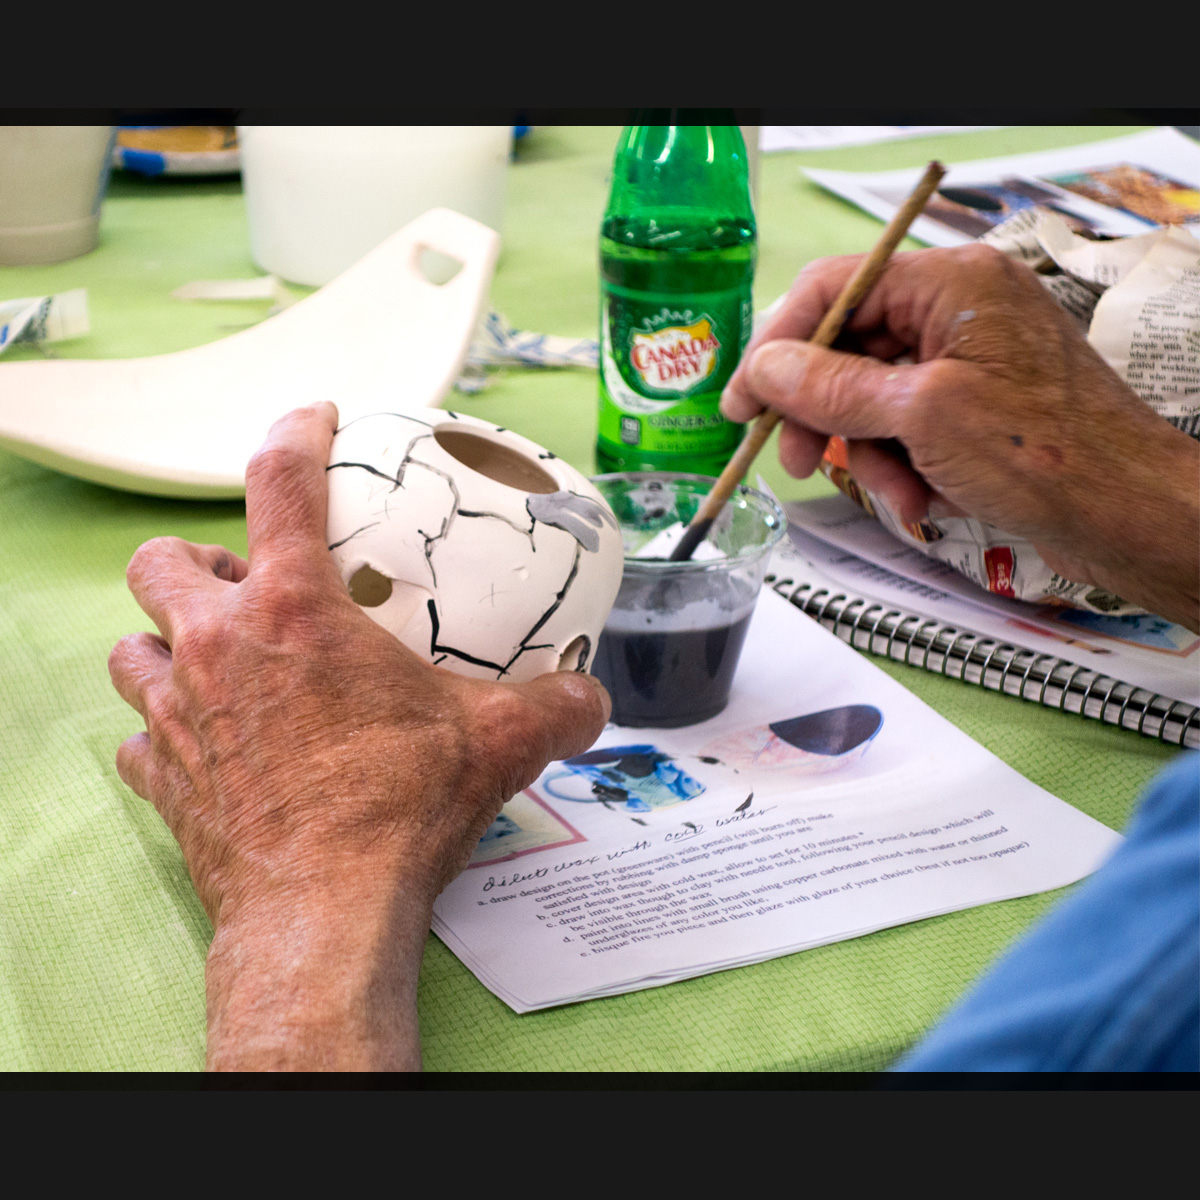
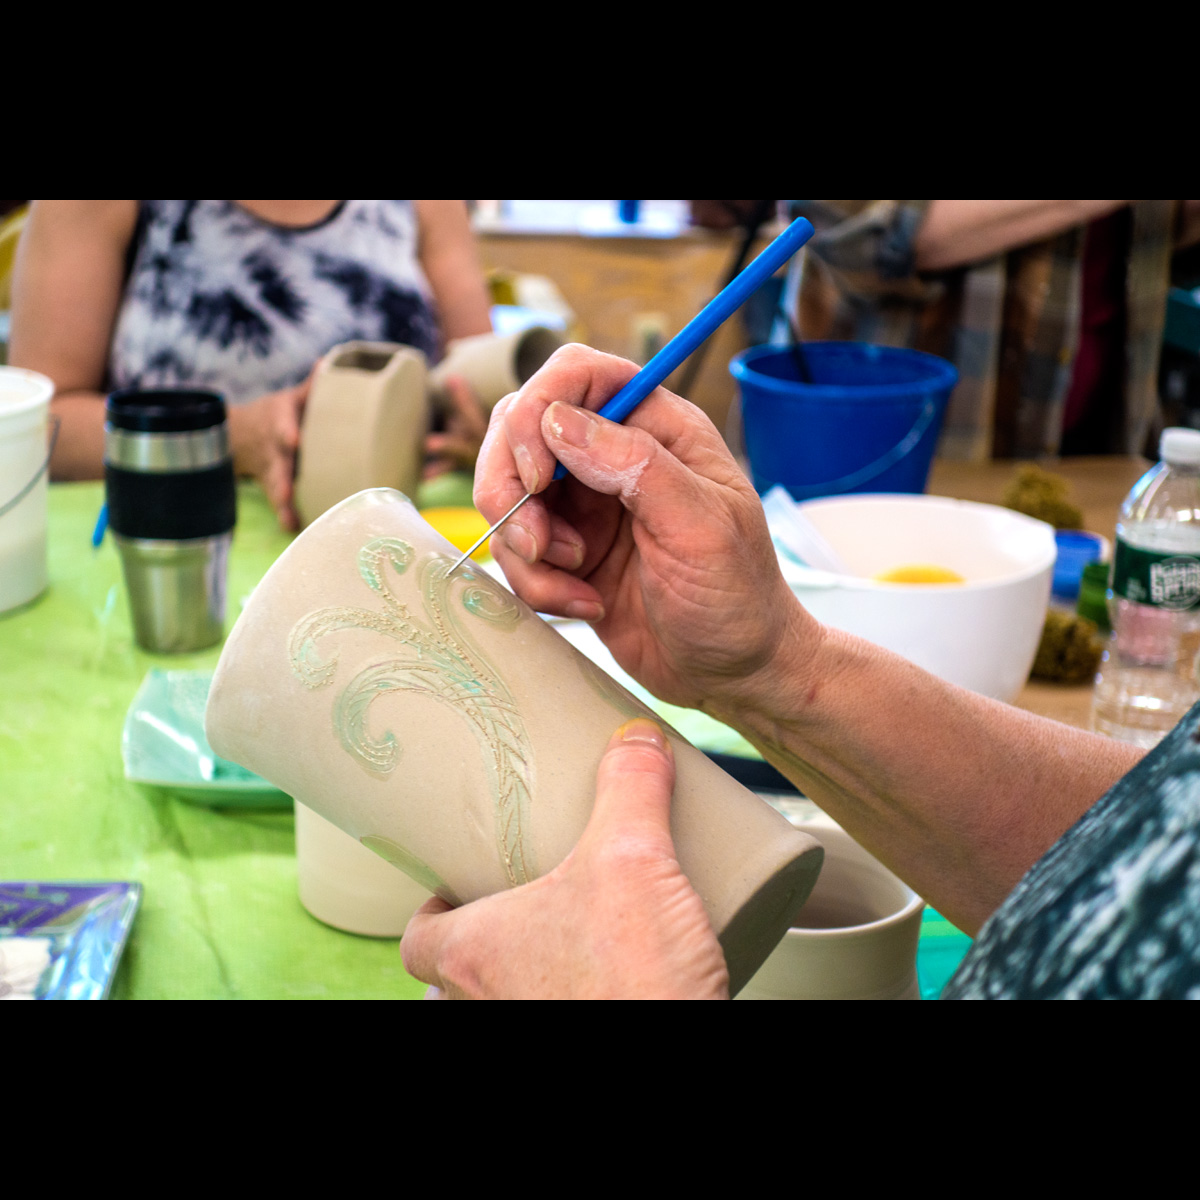
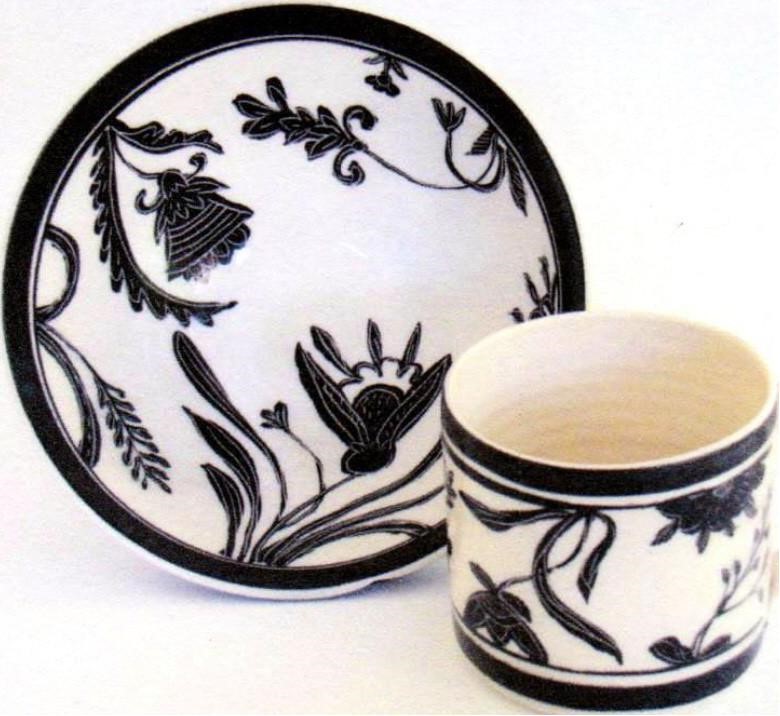
2. ENGRAVING INTO WAX ON GREENWARE OR LEATHER HARD CLAY

- Draw design on the pot (greenware) with pencil (will burn off) make corrections by rubbing with damp sponge until you are satisfied with design
- Cover design area with cold wax, allow to set for 10 minutes *
- Draw into wax though to clay with needle tool, following your pencil design which will be visible through the wax
- Wipe off clay crumbles with a cold wet sponge
- Paint into lines with small brush using copper carbonate mixed with water or thinned underglazes of any color you like,
- Bisque fire you piece and then glaze with glaze of your choice (best if not too opaque)
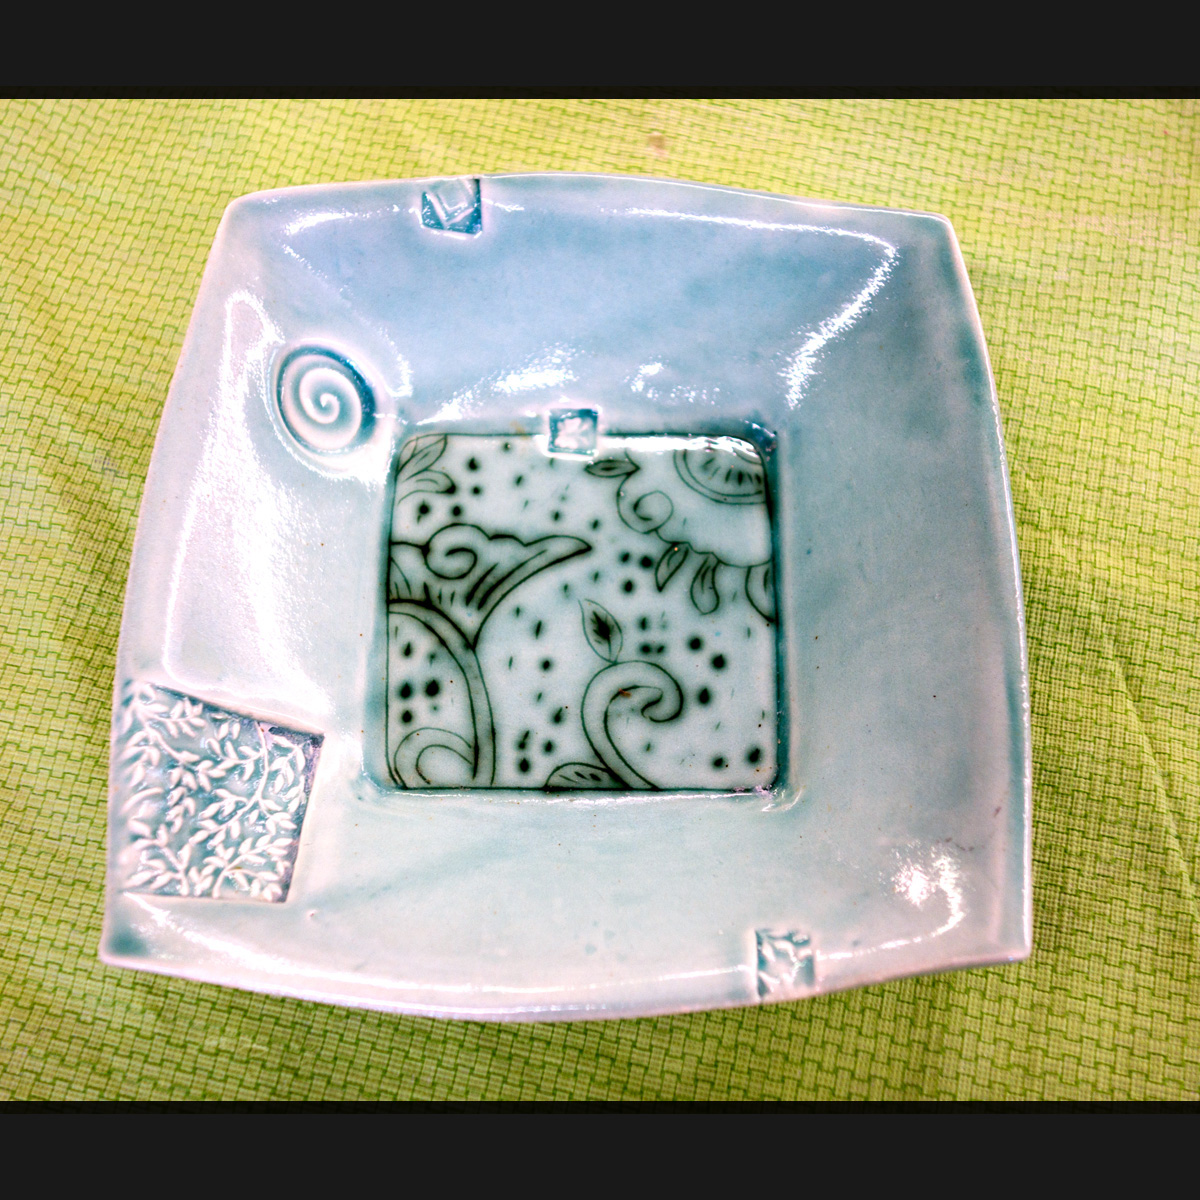
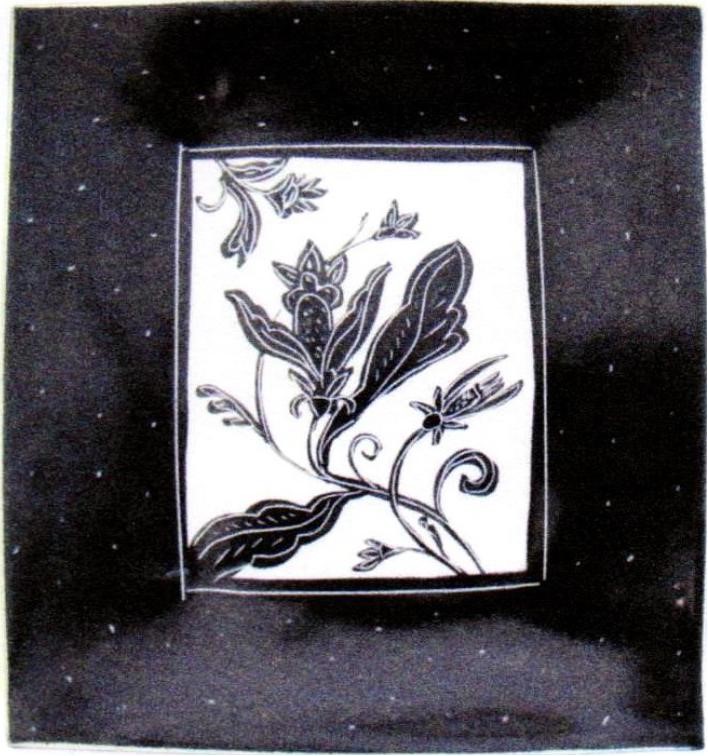
3. SGRAFFITO
- Scratch into painted underglaze or slip on greenware
- When dry, carefully use a soft brush to remove crumbles.
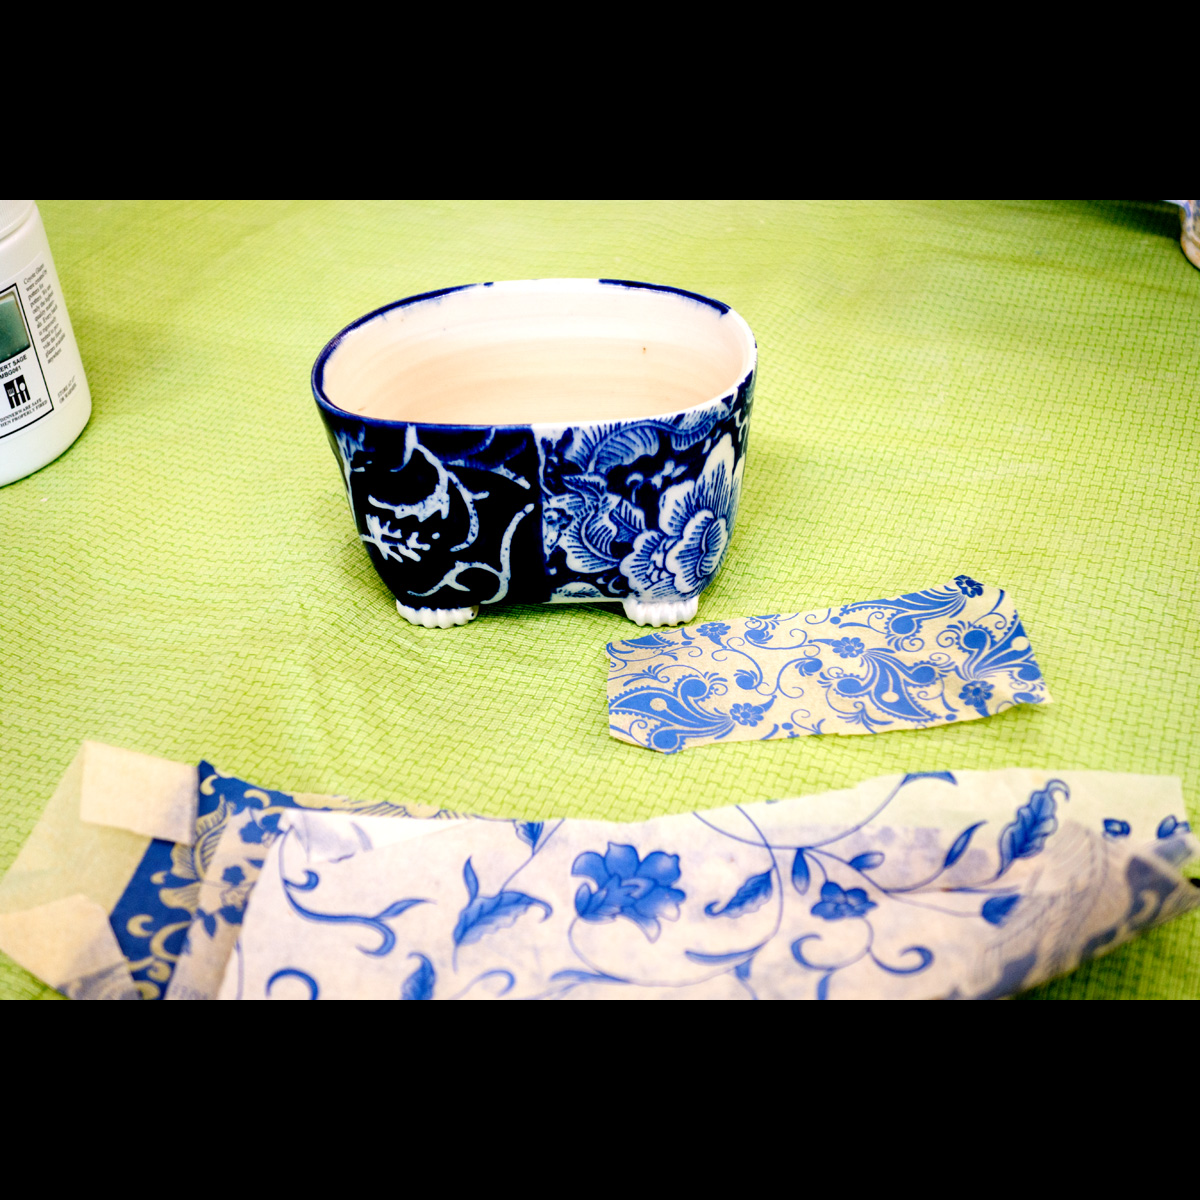
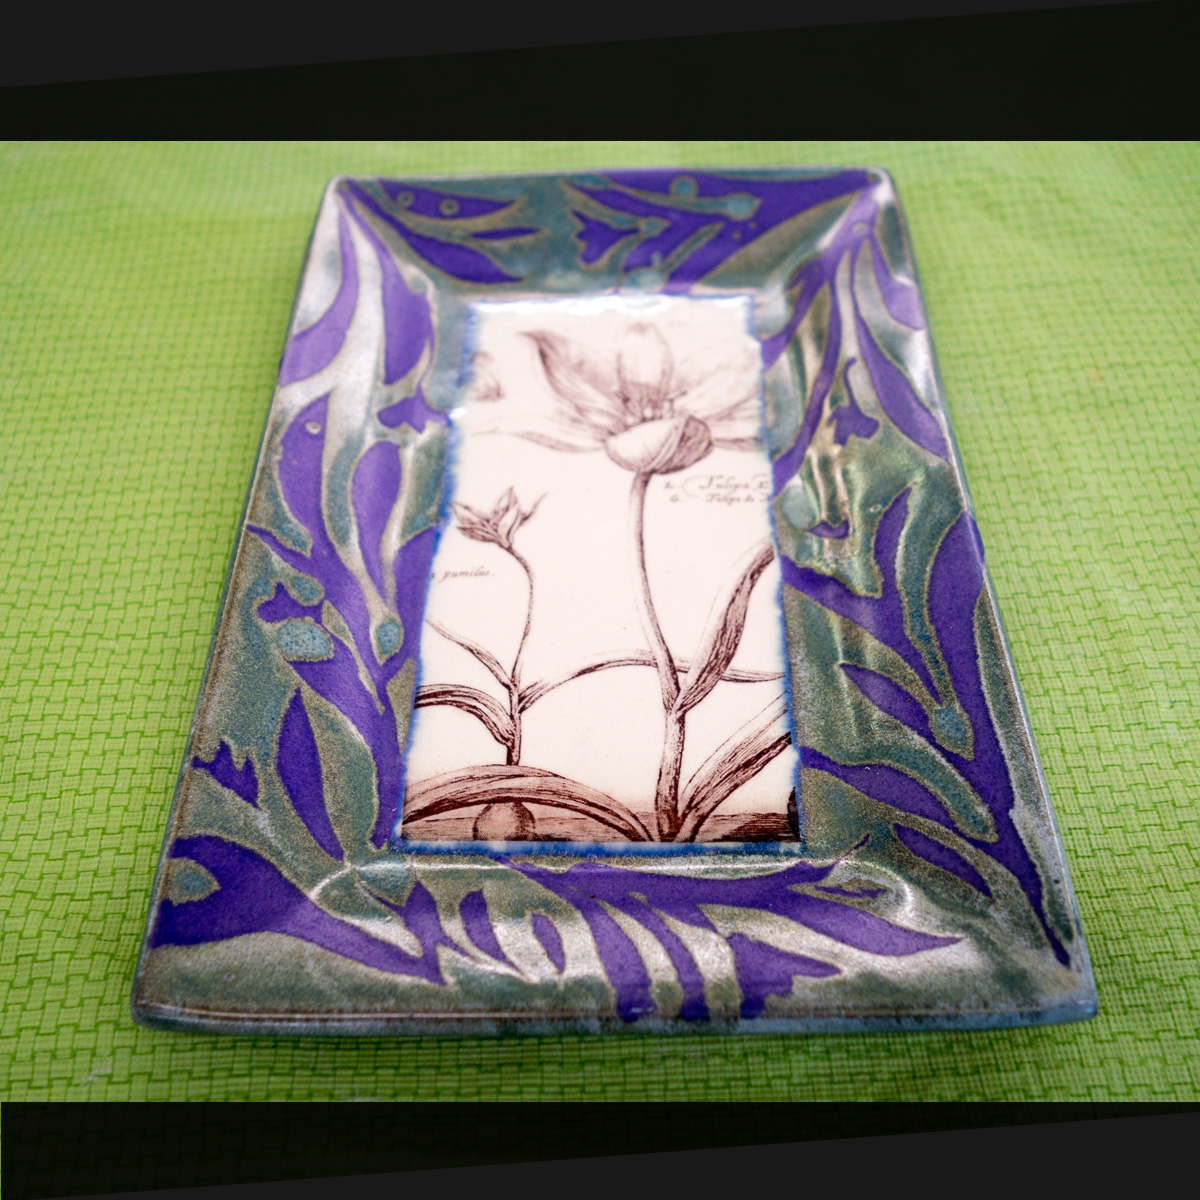
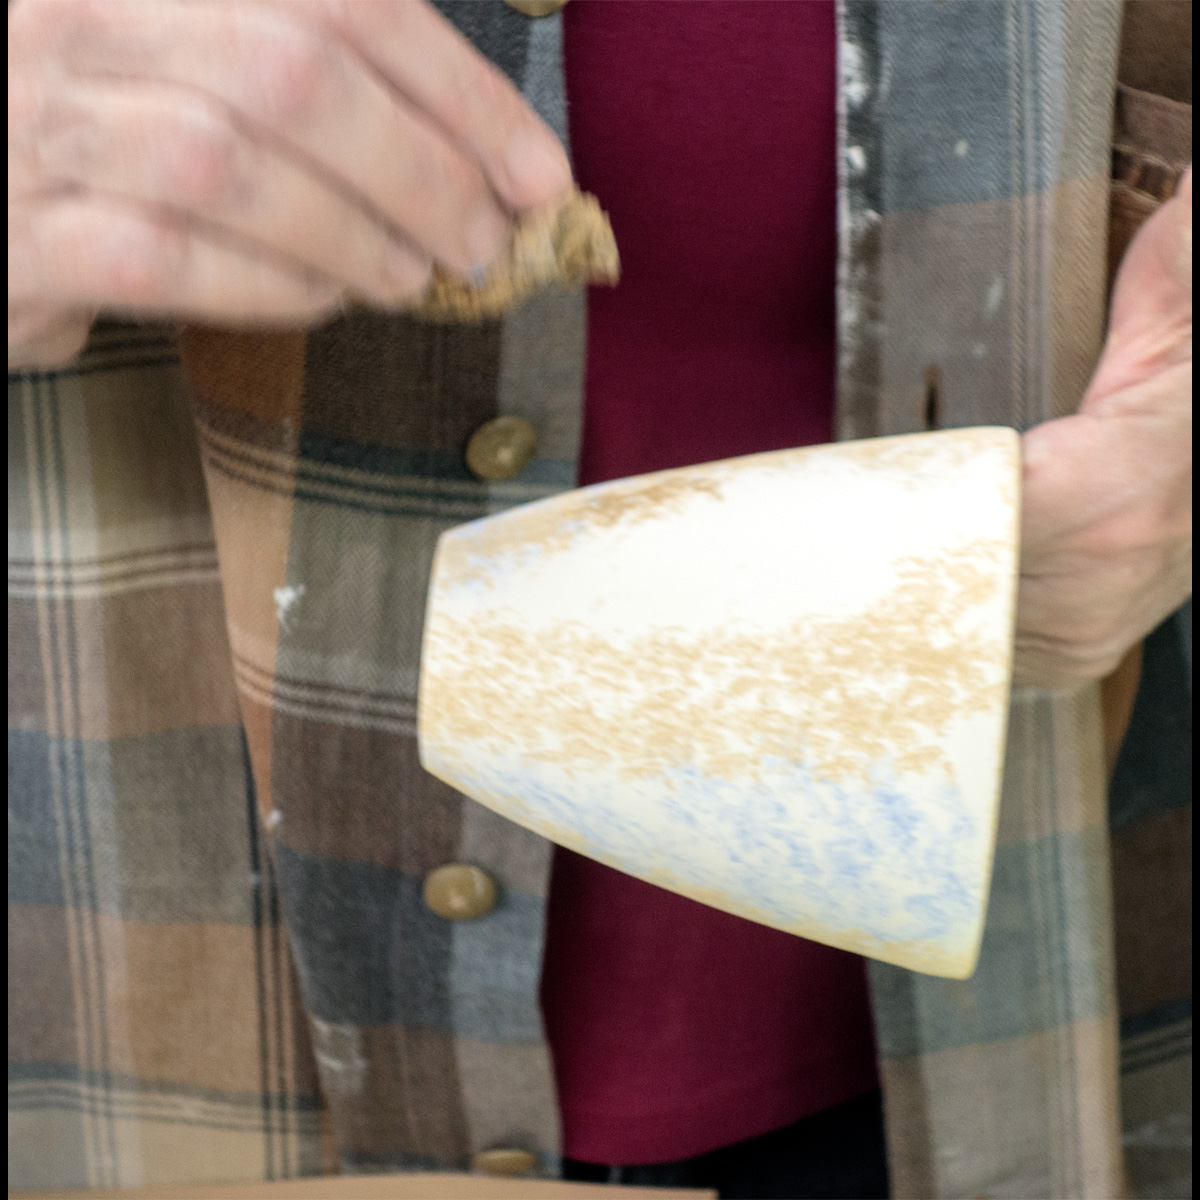
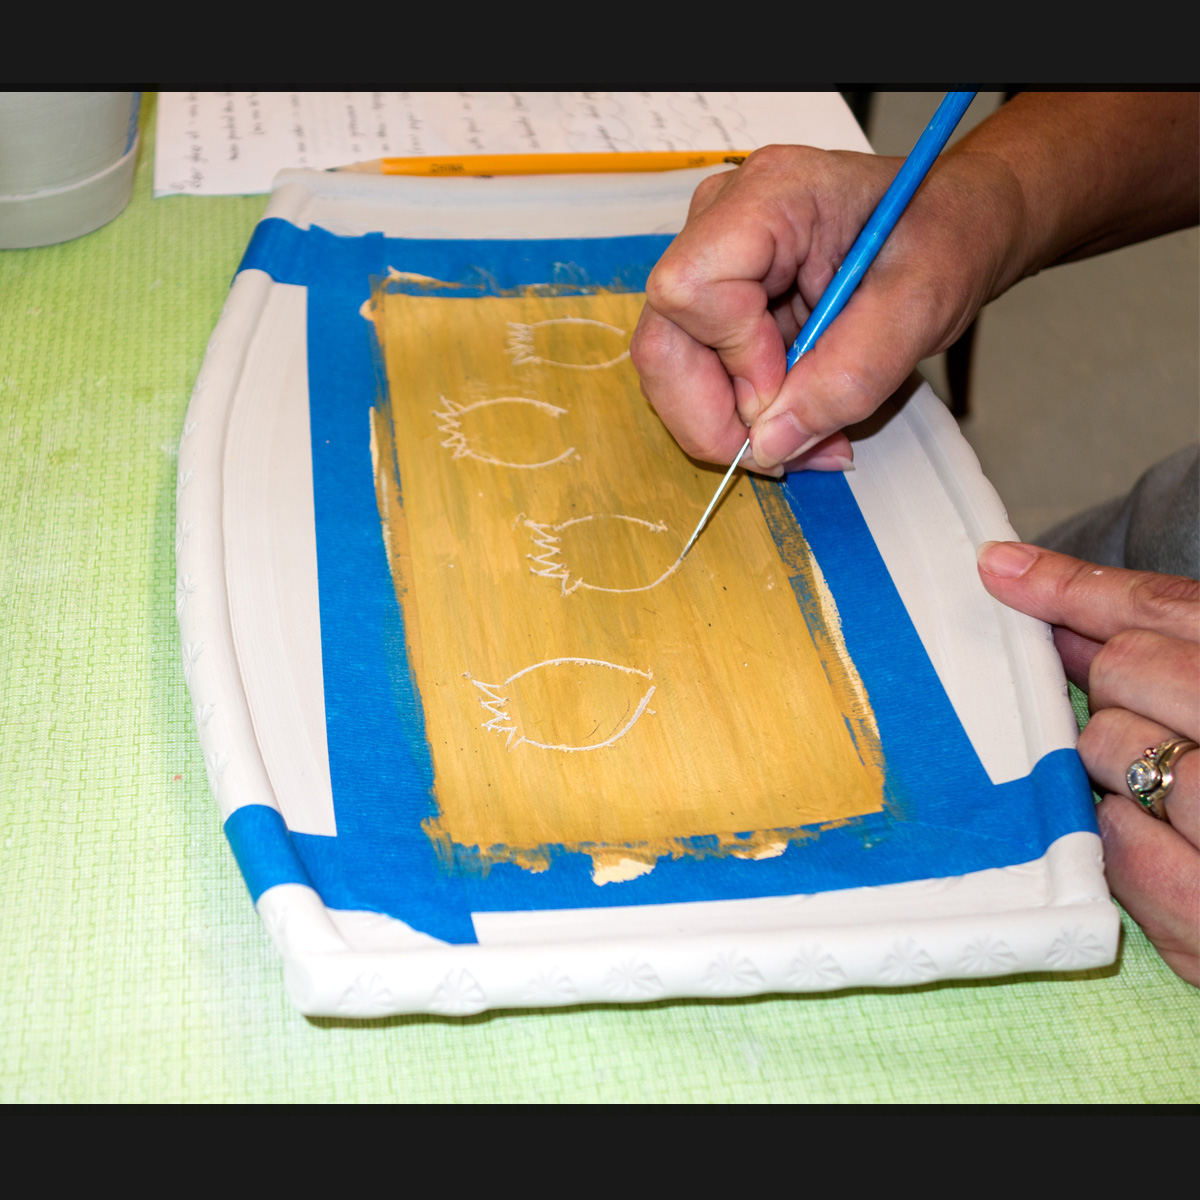
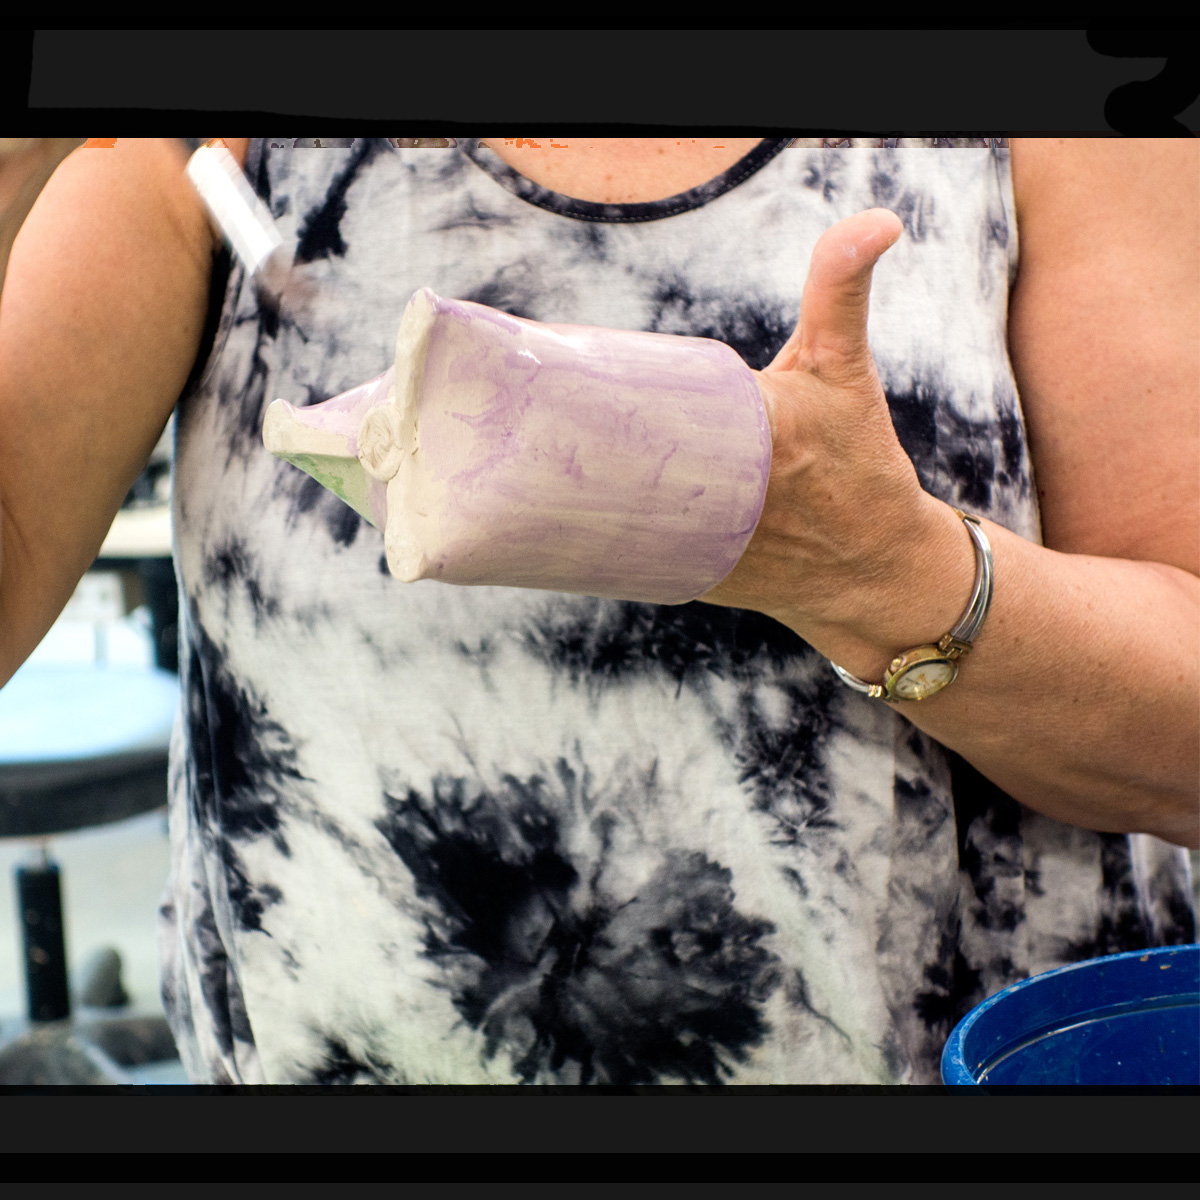
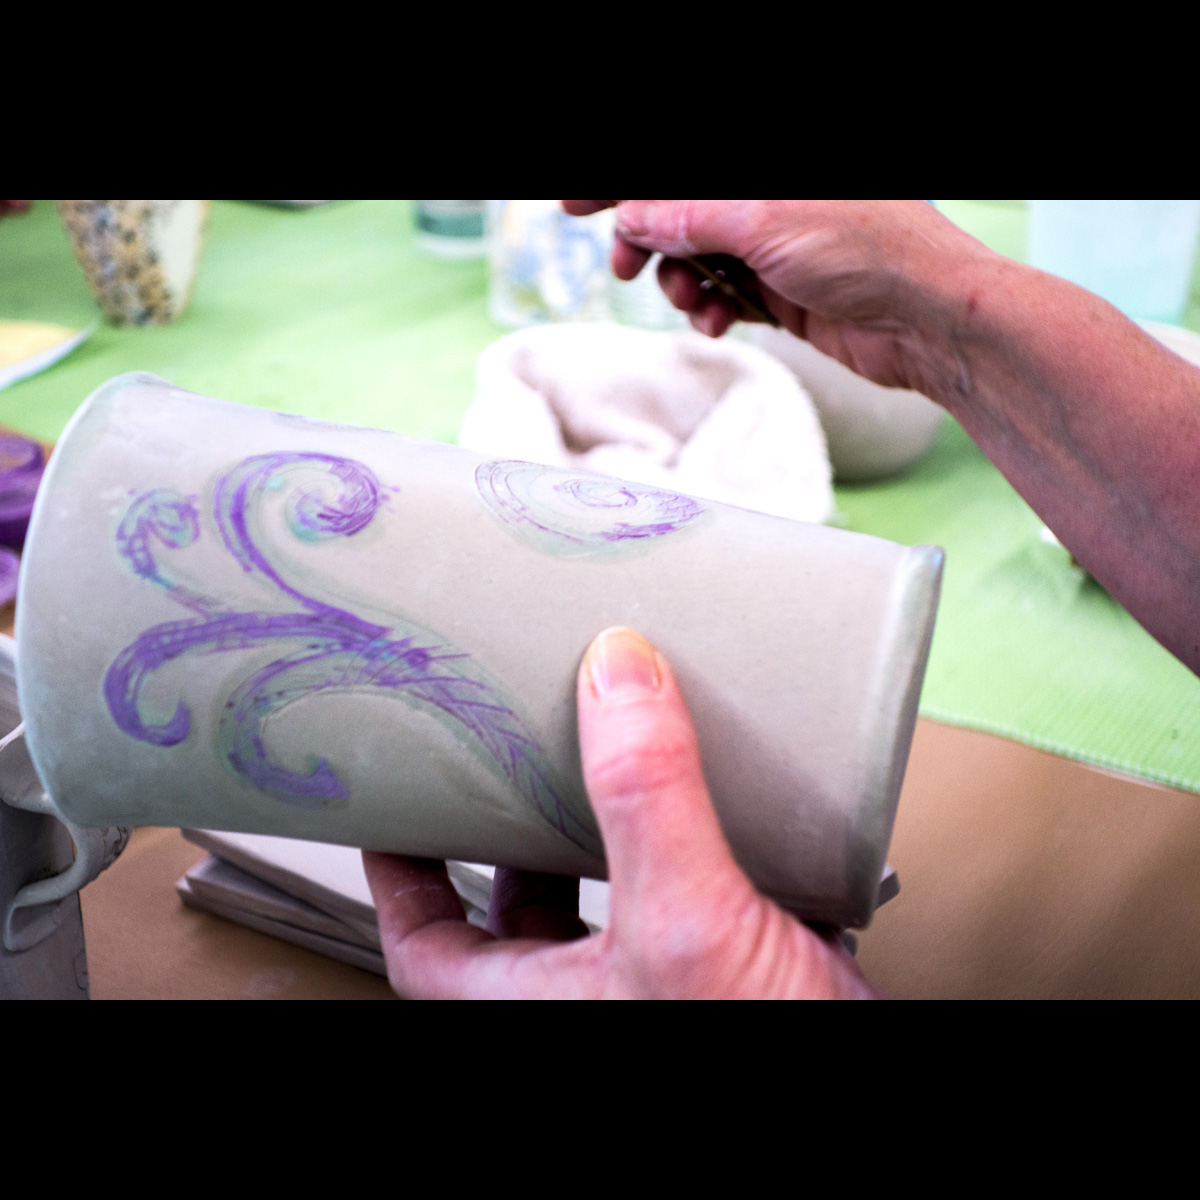
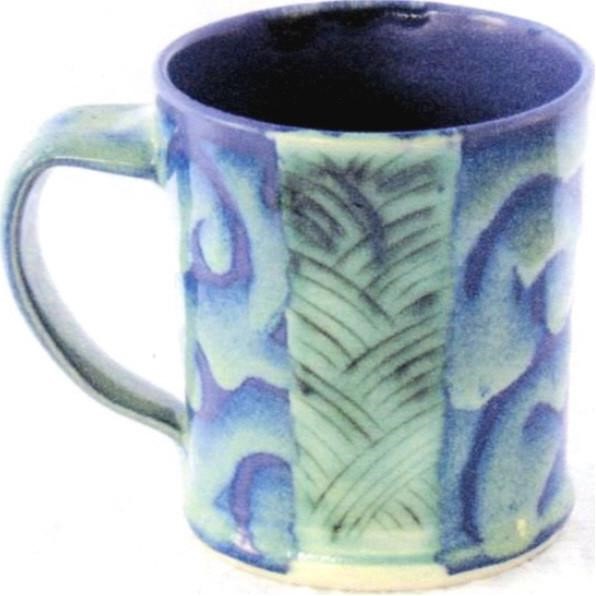
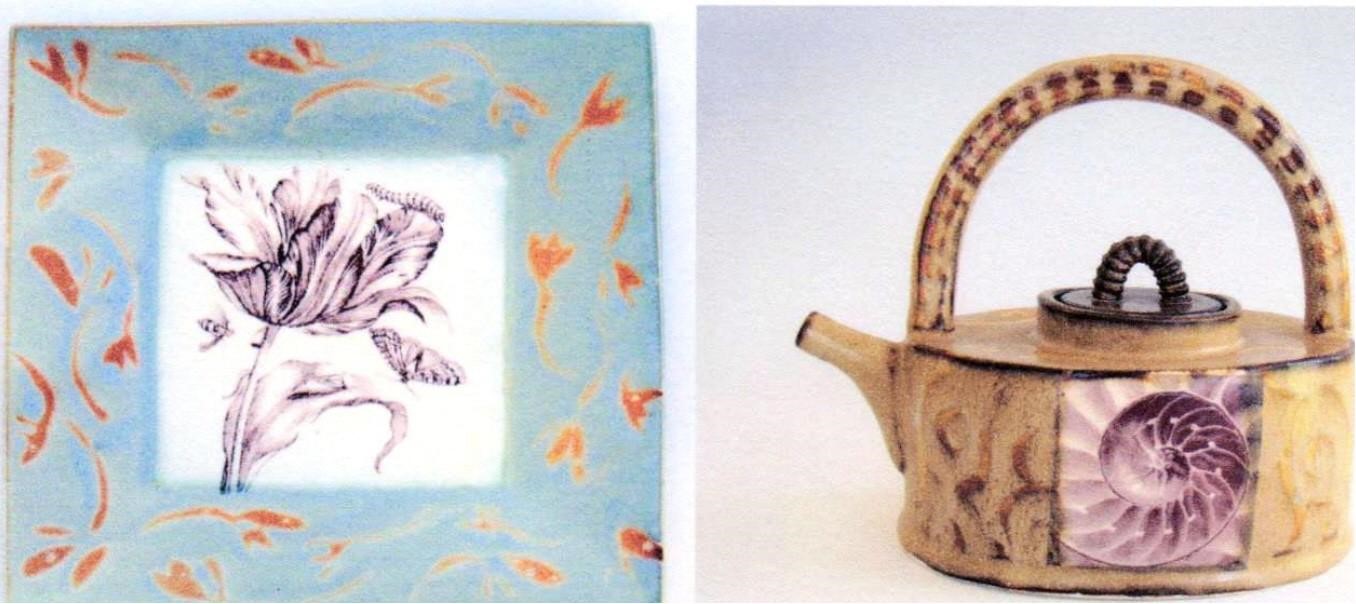
4. RAISED DESIGN USING WAX RESIST ON GREENWARE OR FIRM LEATHER HARD CLAY
- You may cover pot with colored underglazes brushed or sponged before applying wax design to get colored raised design as in this example
- Draw design on pot using pencil
- Follow drawing using brush with cold wax resist (avoid using fine lines)
- You can make corrections by scraping off unwanted wax
- Allow to set (preferably overnight, or at least an hour
- With round synthetic potters sponge quite wet (but not dripping) very gently scrub design in circular motion to wash away clay particles around waxed design.
- A void pressing hard or you will remove wax. Rinse sponge frequently or the abrasion of the clay particles in the sponge will wear away the wax. Scrub until you can feel definite raised edges around the wax design. USE COLD WATER FOR SCRUBBING OR YOU WILL MELT THE WAX AND LOSE YOUR DESIGN
- Some people use liquid acrylic medium instead of wax to paint their design. This is harder and resists being rubbed away as the wax sometimes does, but sometimes liquid acrylic medium leaves a residue that interferes with glazing
- Bisque piece as usual and glaze using glaze that is sensitive to delicate textural variations
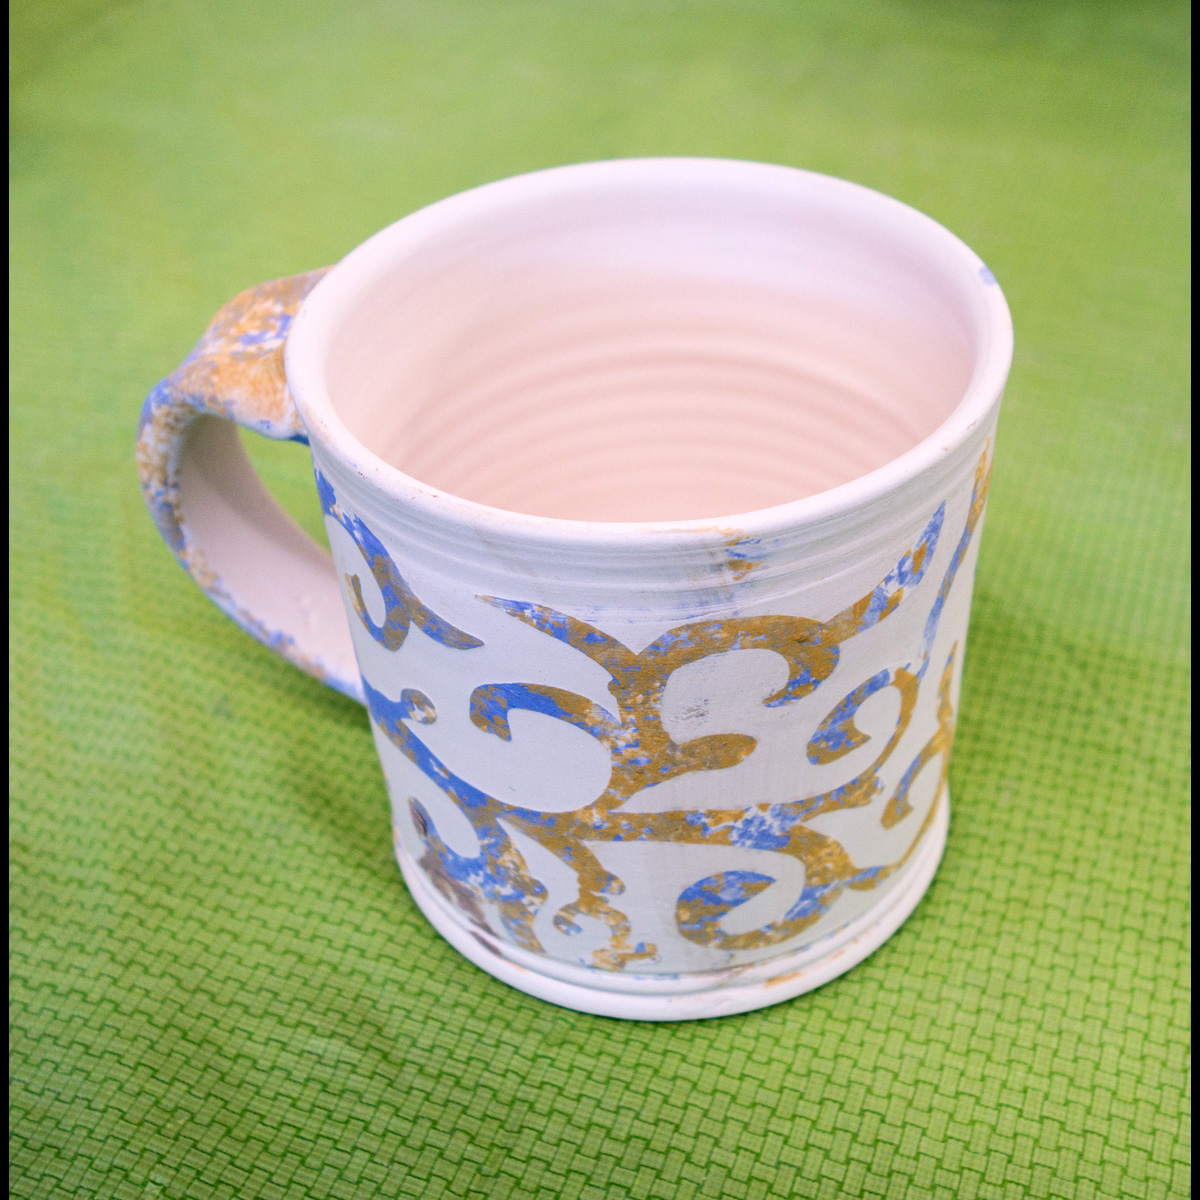
5. HOW TO USE LASER DECALS
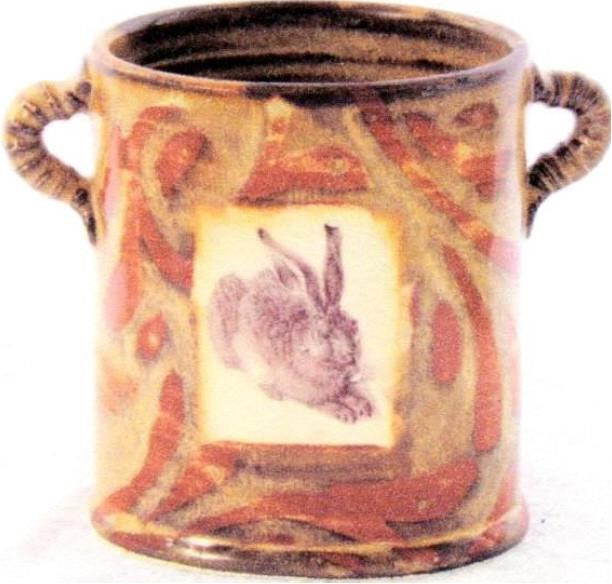
Decals printed on decal paper with HP printer applied to glazed ware and refired to cone 05
- Buy decal paper.
- Find image online or take photo and make black and white computer image file.
- Print image on decal paper using HP black and white laser printer.
- Submerge decal in water for a few minutes.
- Slide off onto prepared glaze fired pot.
- Refire to cone 05.
- Some glazes may change radically in the third firing, best to test first.
Below is a link to a website with useful information for people who want to try the laser decal technique.
https://rothshank.com/justins-work/decal-resources/
WHAT KIND OF PRINTER WILL WORK?
- It isn’t the brand of LASER printer that is the key but rather the TONER that the printer is using.
- To find out the details of the toner you are interested in, Google the MSDS details of the black toner for the brand and model of the printer that you are considering.
- The toner must have a minimum of 40% iron oxide in its composition as the decals rely on he unfluxed iron oxide as the colorant.
- The PRINTER must also only be a B&W LASER as the drum on a color laser printer heats up too much and fuses the iron oxide on to the surface of the drum and then you will have a big repair bill.
- Today most black toners for laser printers are composed of carbon/soot which of course will burn out in firing.
- B&W HP laser printers are around $100 or less. You just need the base model but do check out the toner details.
- Northeast Ceramic Supply Inc sells decal paper. 10 Monroe Street
Troy, NY 12180
Phone 518.274.2722
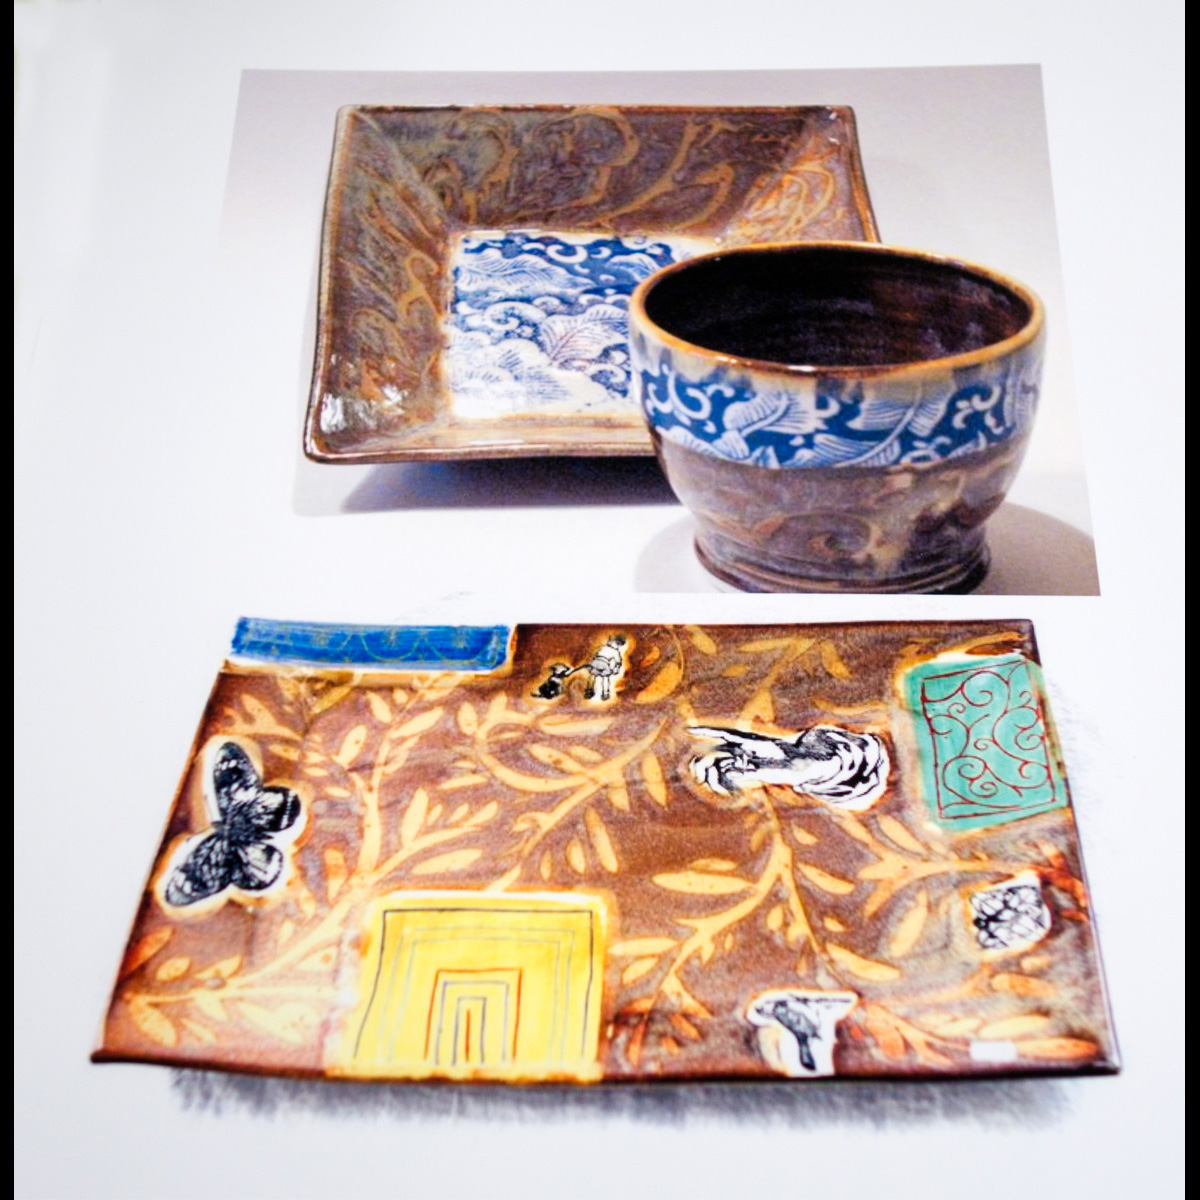
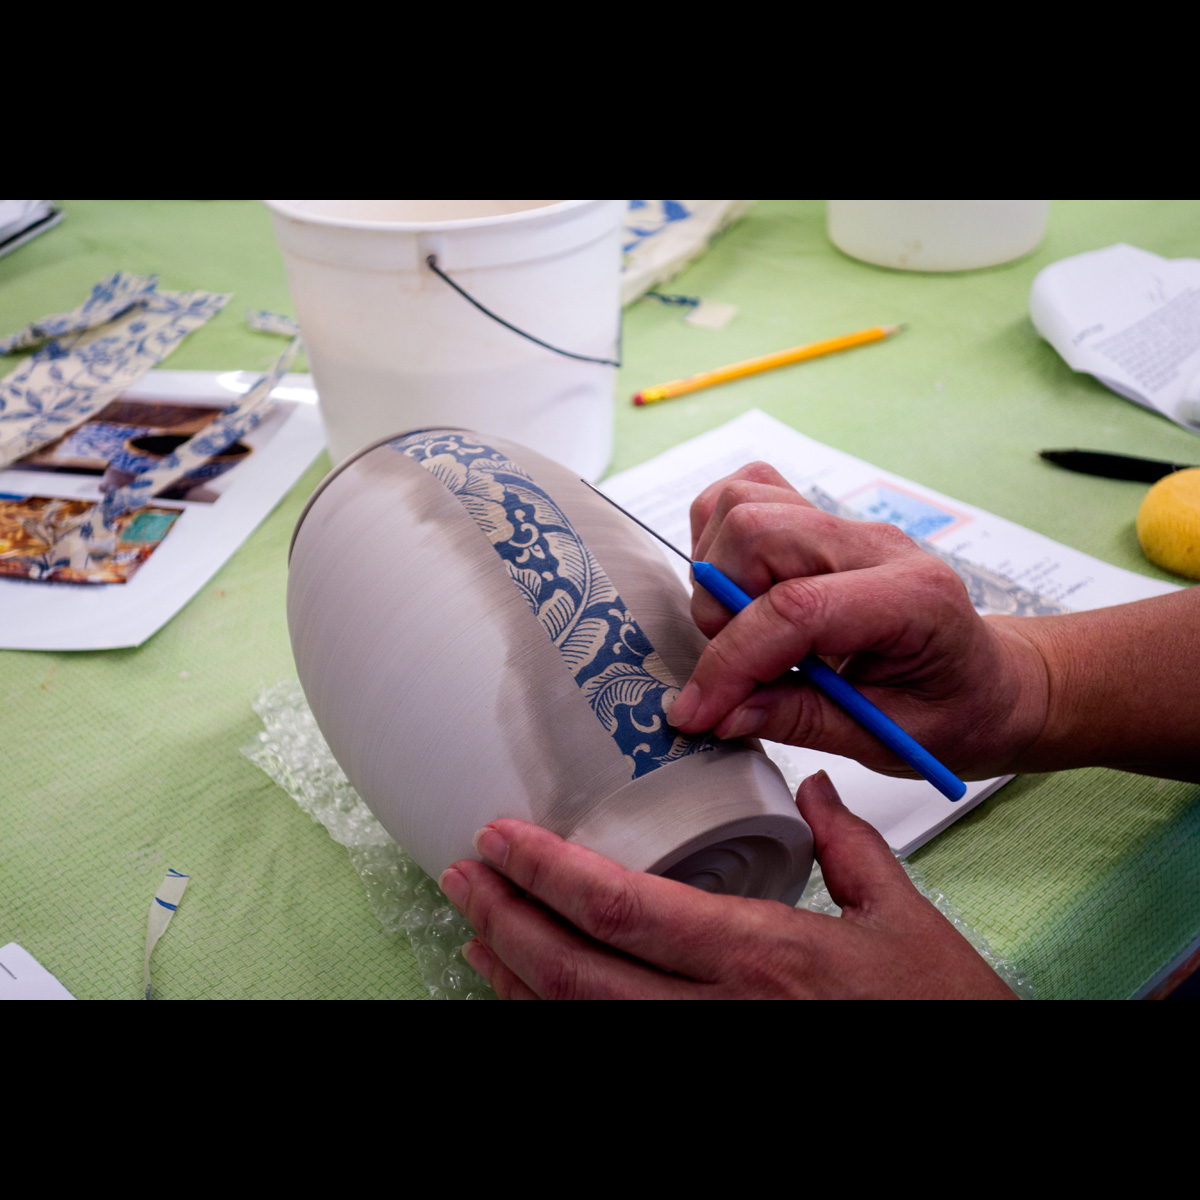
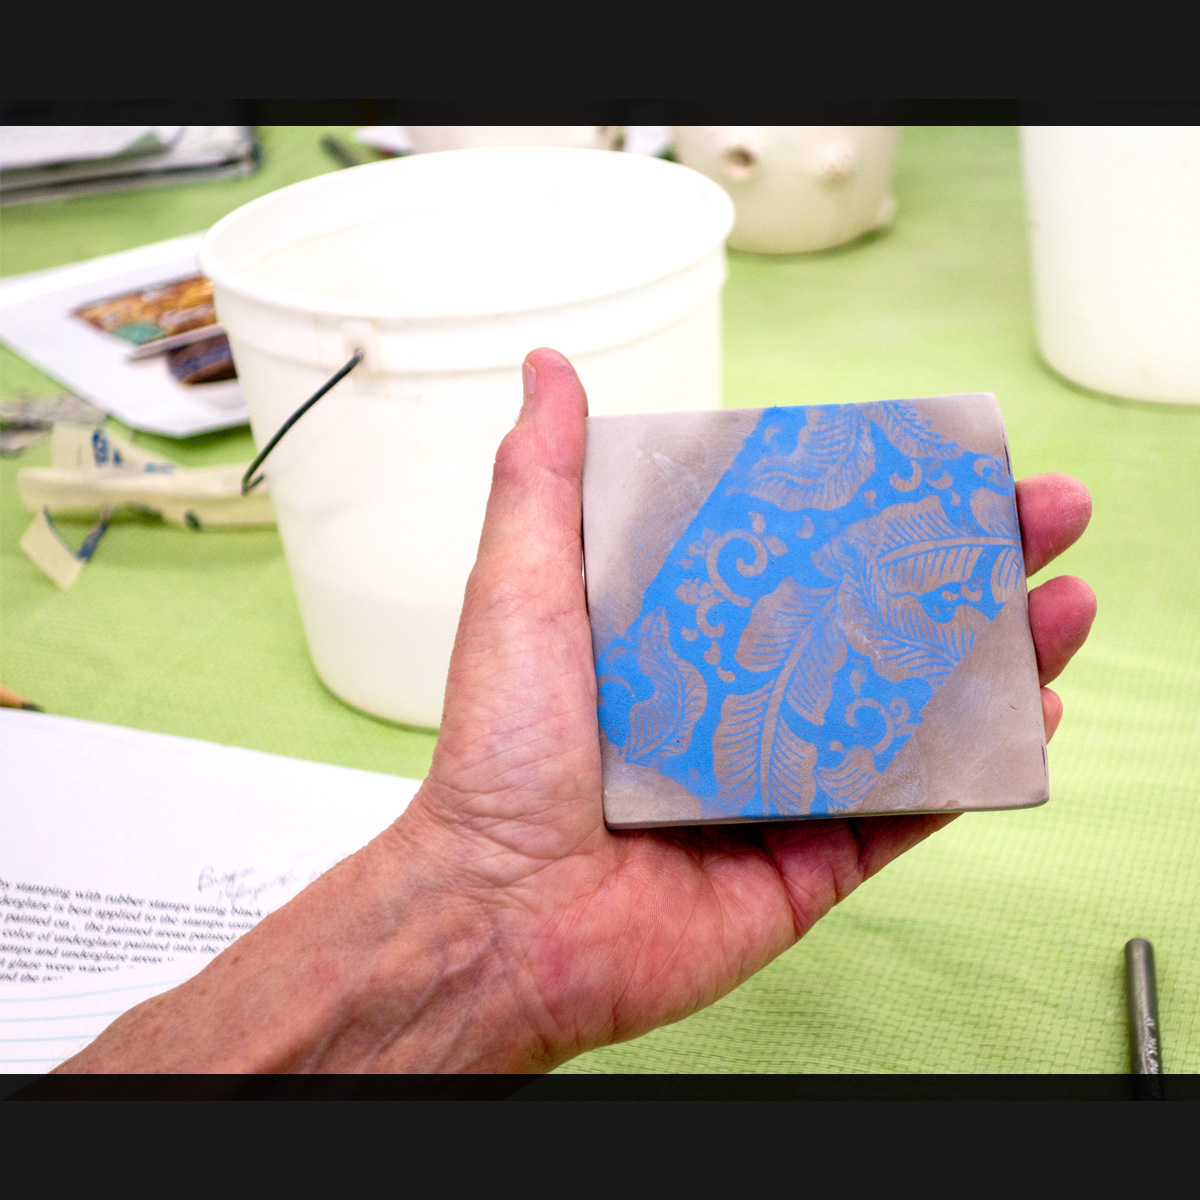
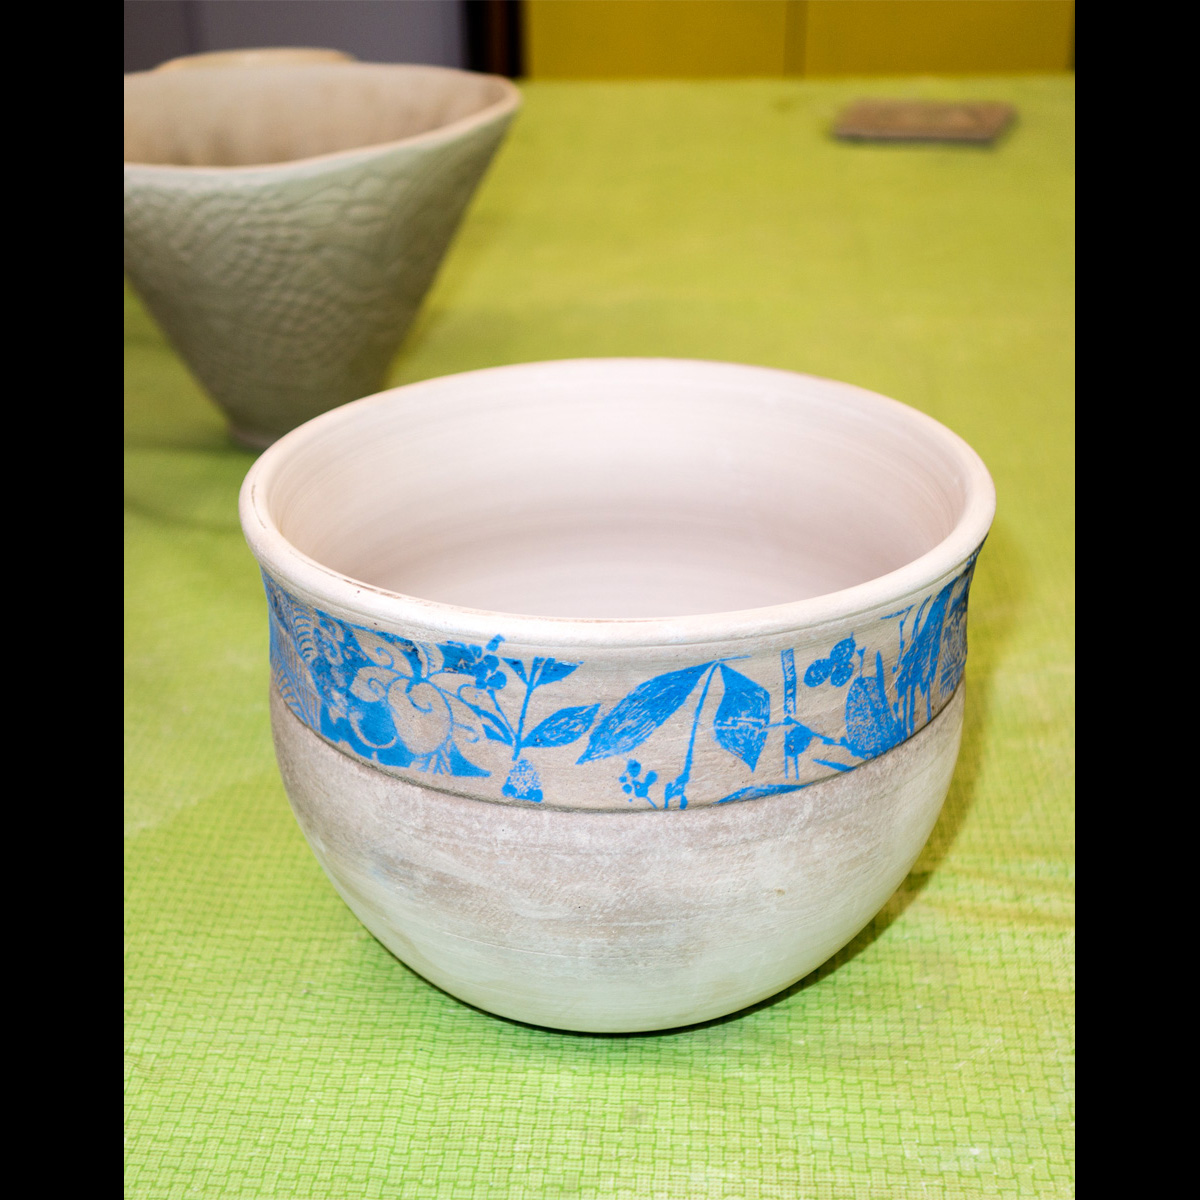
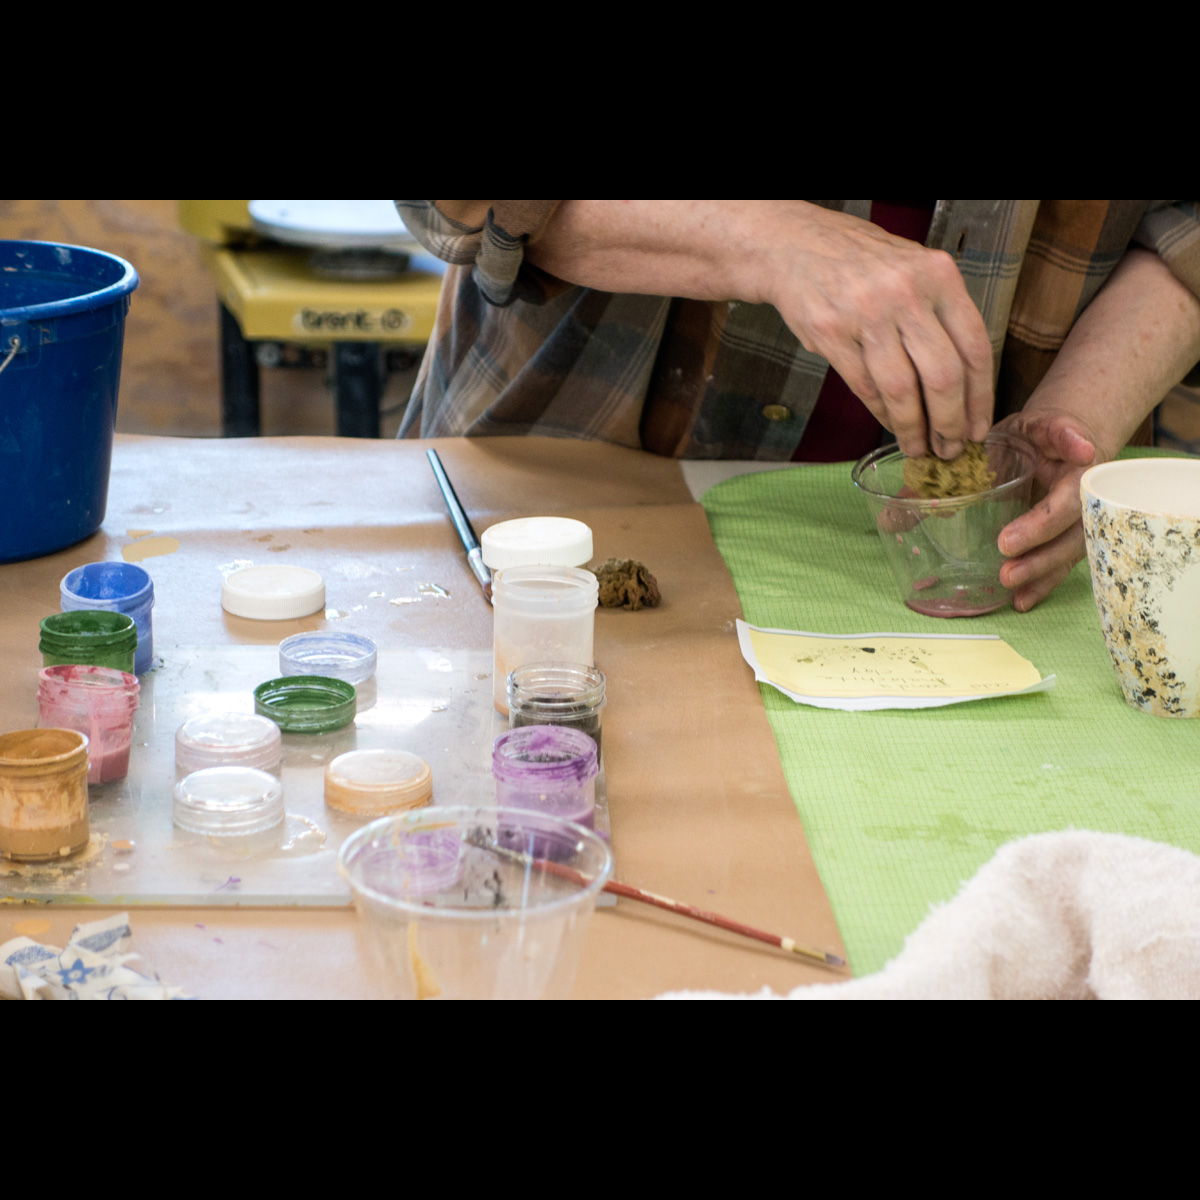
6. COMBINING TECHNIQUES
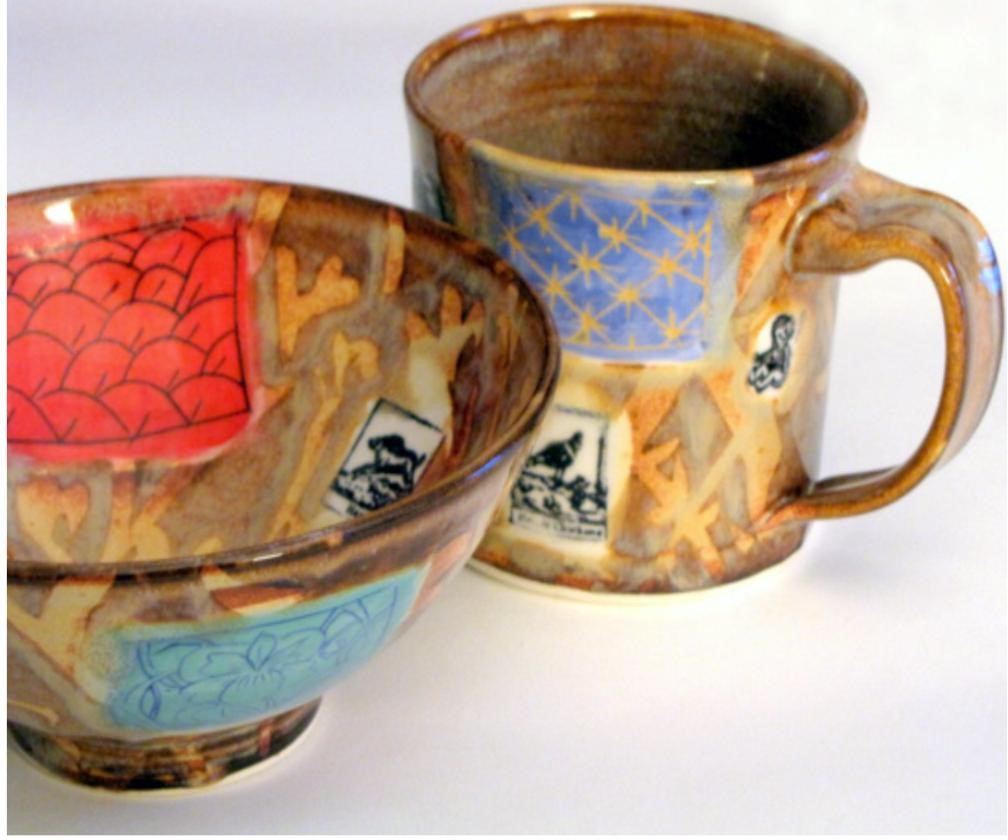
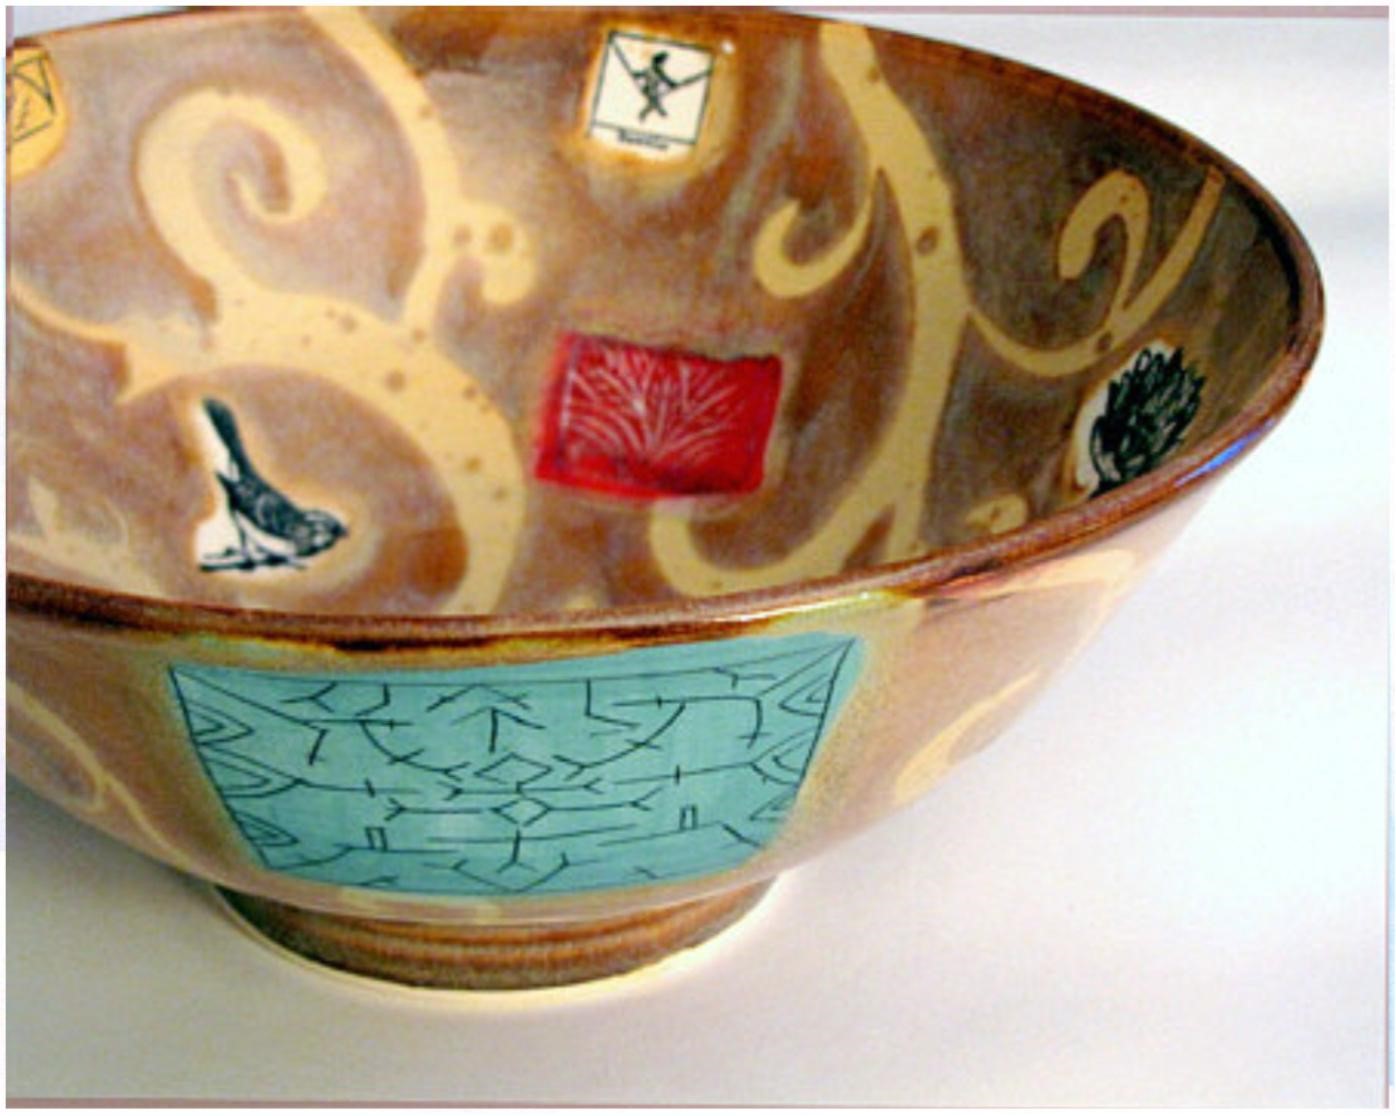
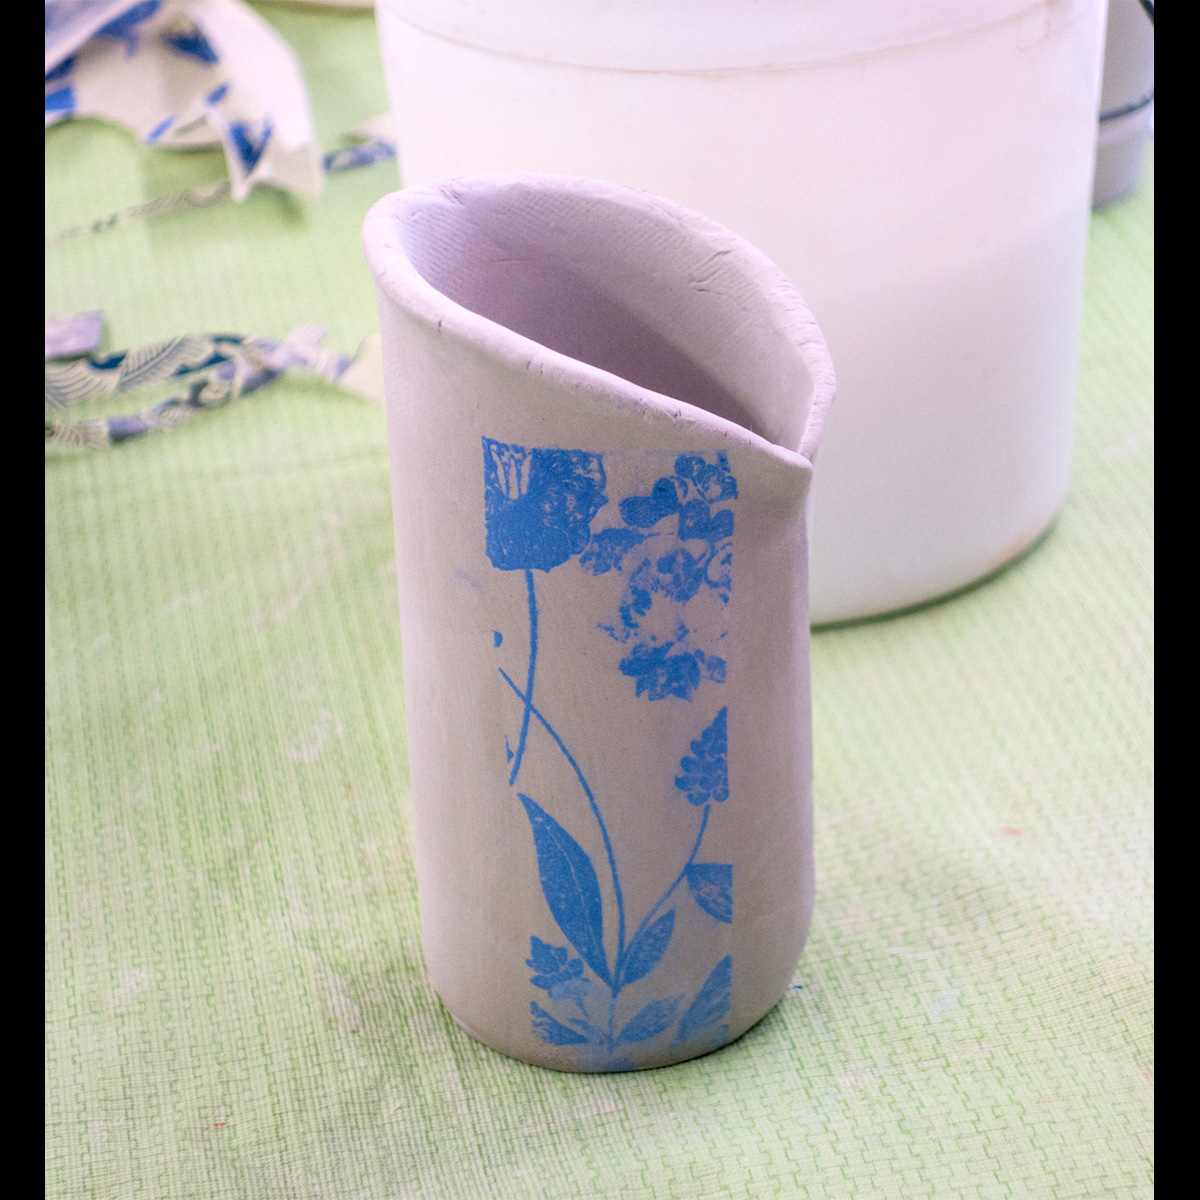
- These pots were started on greenware by stamping with rubber stamps using black under glaze (you can use any color you like).
- The underglaze is best applied to the stamps using a printmaking brayer or alternatively a brush
- After stamping, areas of colored underglaze were painted on the unfired greenware pot.
- The painted areas painted with wax,
- The wax engraved with a needle tool
- Another color of underglaze painted into the scratches
- Then the pot was bisque fired.
- After bisque firing, stamps and underglaze areas were painted with transparent glaze and the areas of transparent glaze were waxed.
- Then the pot was dipped in the first glaze.
- A new design was painted on the glazed pot using wax
- The pot was dipped in a second glaze
- Finally the pot was fired to cone 6
GLAZES TO USE:
Liz Vigoda Studio Shiny Clear
Adapted from Digital Fire website
2O kaolin
20 flint
10 wollastonite
50 frit 3124
for celadon add:
2% copper carbonate or
2% bermuda mason stain
Liz Vigoda Eggshell Mat
Adapted from Digital Fire website
27 wollastonite
36 frit 3124
32 kaolin
8 flint